Deprecated: Build and deploy a standalone web page (formerly known as Connected Pages)
Important
The Skedulo SDK is being deprecated. For more information about timelines, alternative solutions, and impacts on existing extensions, please see the deprecation notice.
While standalone web extensions are still supported by Skedulo, we recommend that you rather develop and deploy web extensions using packages and the CLI.
Packages provide the most up to date development tooling for extensions, support versioning, and automatic updates to custom content on deploy.
More information about using the CLI to develop web extensions can be found here.
Develop a web extension
Standalone web extensions, and those within a package, use the same development components. This getting started procedure describes how to develop a standalone web extension, however the same procedure can be applied to a web extension within a package.
The basic components you need to create a web extension are included in the template shipped with the Skedulo Packages SDK. However, if you are not familiar with creating custom content in Skedulo, we recommend that you contact your Skedulo Customer Success Manager for assistance. Note that extensions use, and so require a working knowledge of, React.
Prerequisite
The Skedulo SDK is installed and launched, and developer mode has been enabled in the Skedulo web application.
-
In the SDK, click Manage Standalone Web Extensions to work on an extension.
-
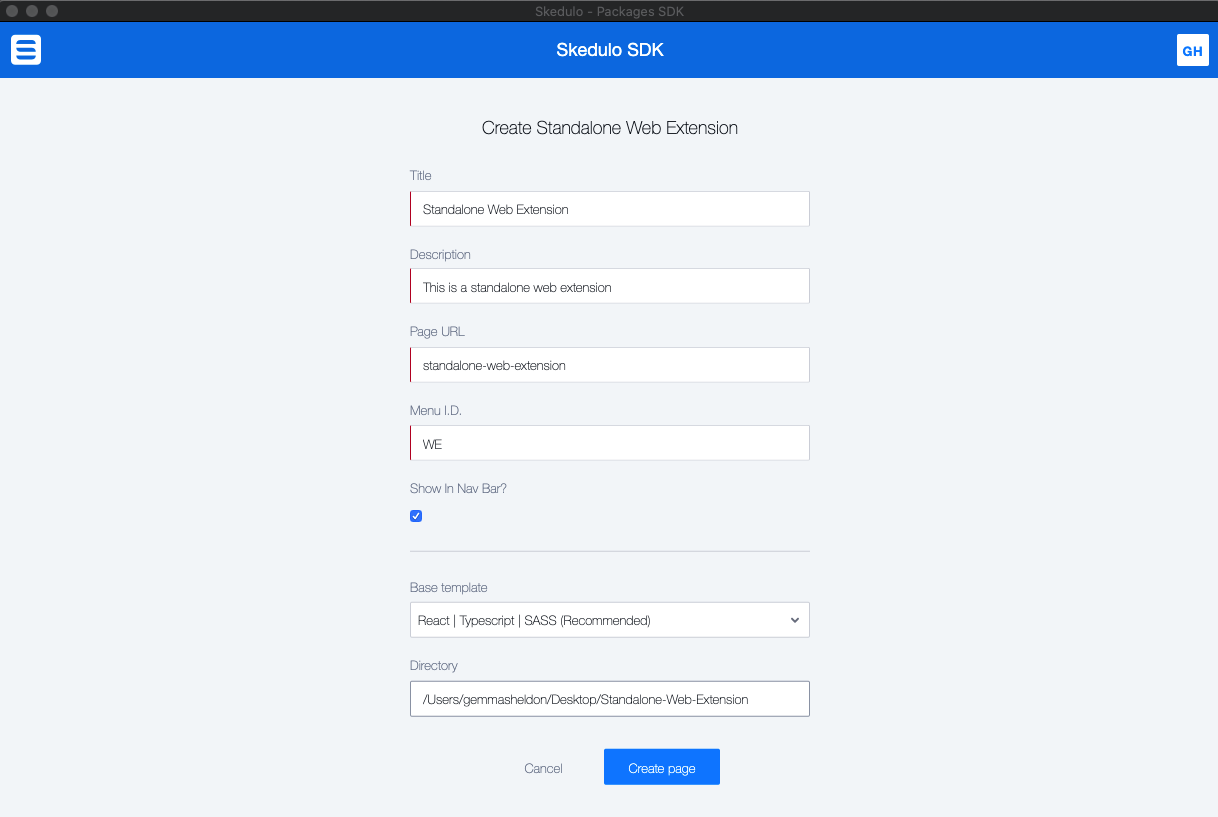
Click Create new project to get started. You will be asked to fill some additional metadata related to the page that you intend to build.
-
Title: The title of the page – this shows up as the title of the page once it has been deployed. -
Description: A description summarizing the functionality of this page (useful during page management). -
Page URL: The URL slug where this page should be available. This is specific to your tenant. -
Menu I.D: A short, two character identifier for this page that will be rendered on the Skedulo web app nav bar. -
Show In Nav Bar?: Should this page be accessible via a nav bar link?If you are intending to build a contextual page relying on context passed in via URL, this could be set to
False.
-
-
Select the base template for your web extension. The SDK ships with a React/Typescript template that will help you get up and running quickly with the stack.
The template ships with type definitions that will help you use the services that we provide on the web extension.
-
Click in the Directory field to select a directory and create a folder in which to store your project files.
Important
It is important that you create a new, empty folder for the project.
When you create the web extension in the following step it will create the required files in the folder you have selected, so if you have a non empty folder, it will store all of those files and folders next to the existing ones.
-
After you have selected a template and the directory where you would like to create and save the project files, click Create page.
Note
The SDK will set up the project folder with the template files and bootstrap the project ready for development. Once this is done, the SDK will transition to the project page.
This might take a minute.
-
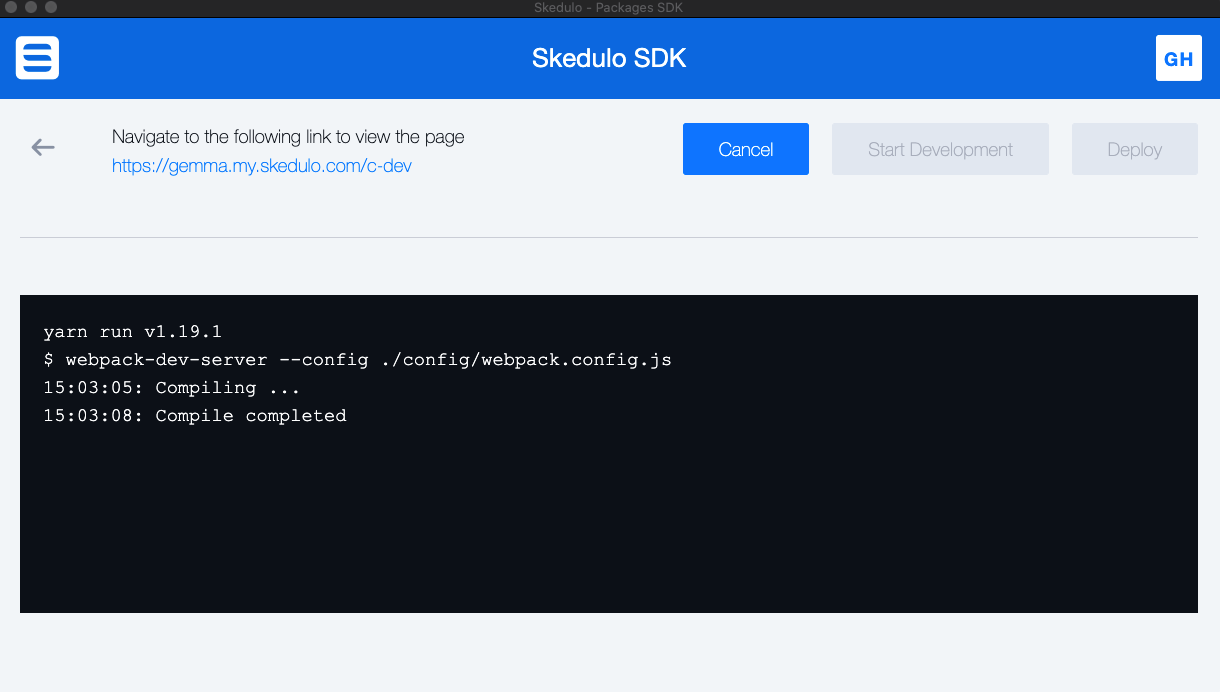
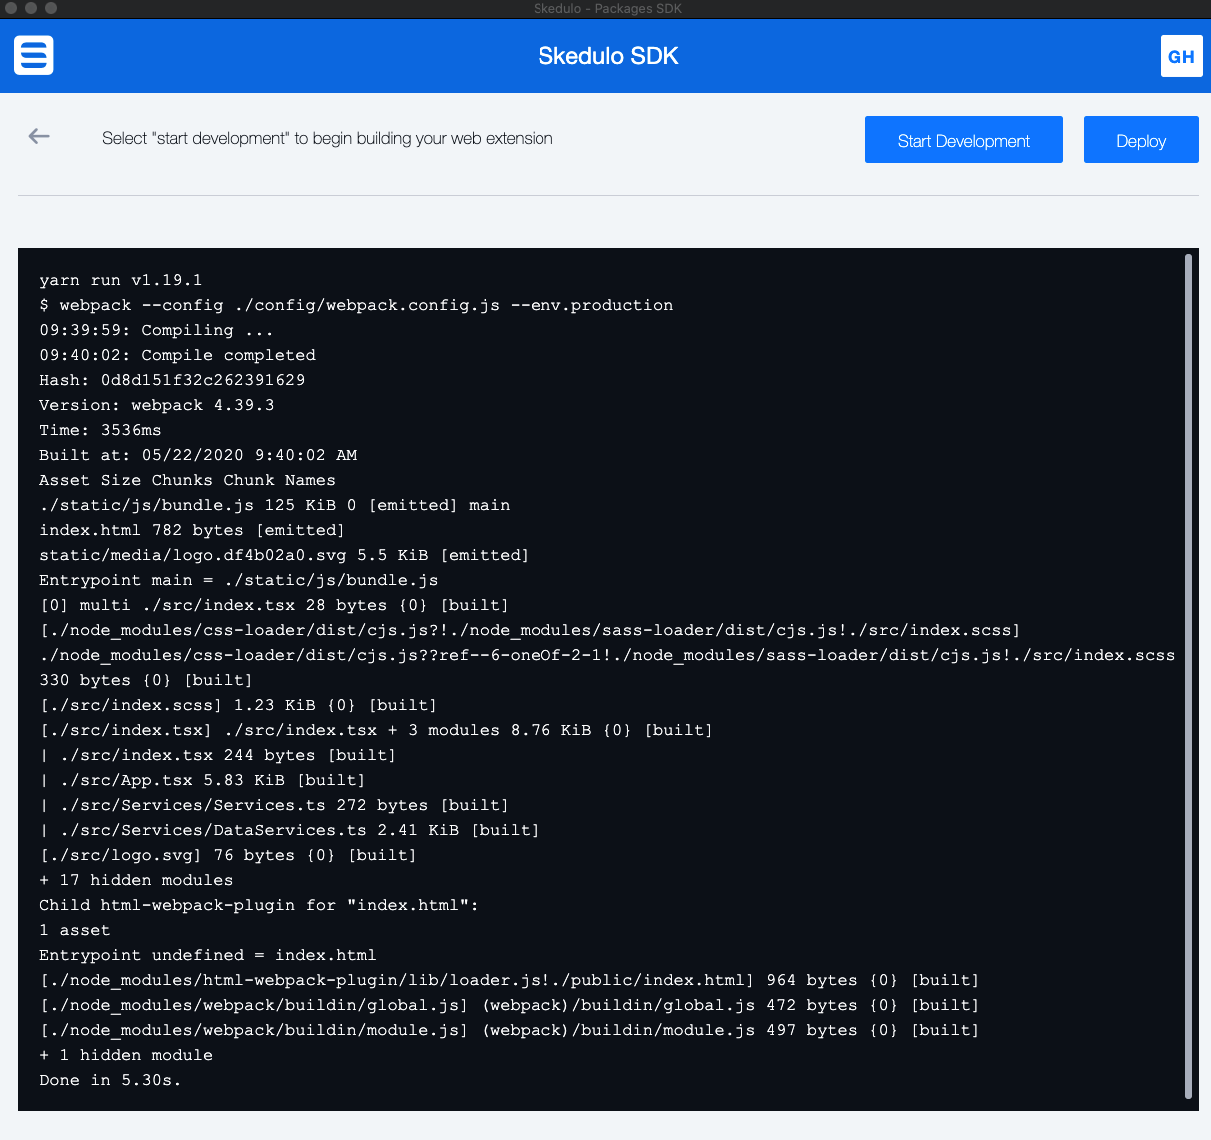
Click Start Development in the upper-right to turn on the development tooling. You should see a URL to the hosted development page (at the top of the SDK window), as well as some output on the terminal.
-
To view the page currently under development, click the URL specified at the top of the SDK window. This should be
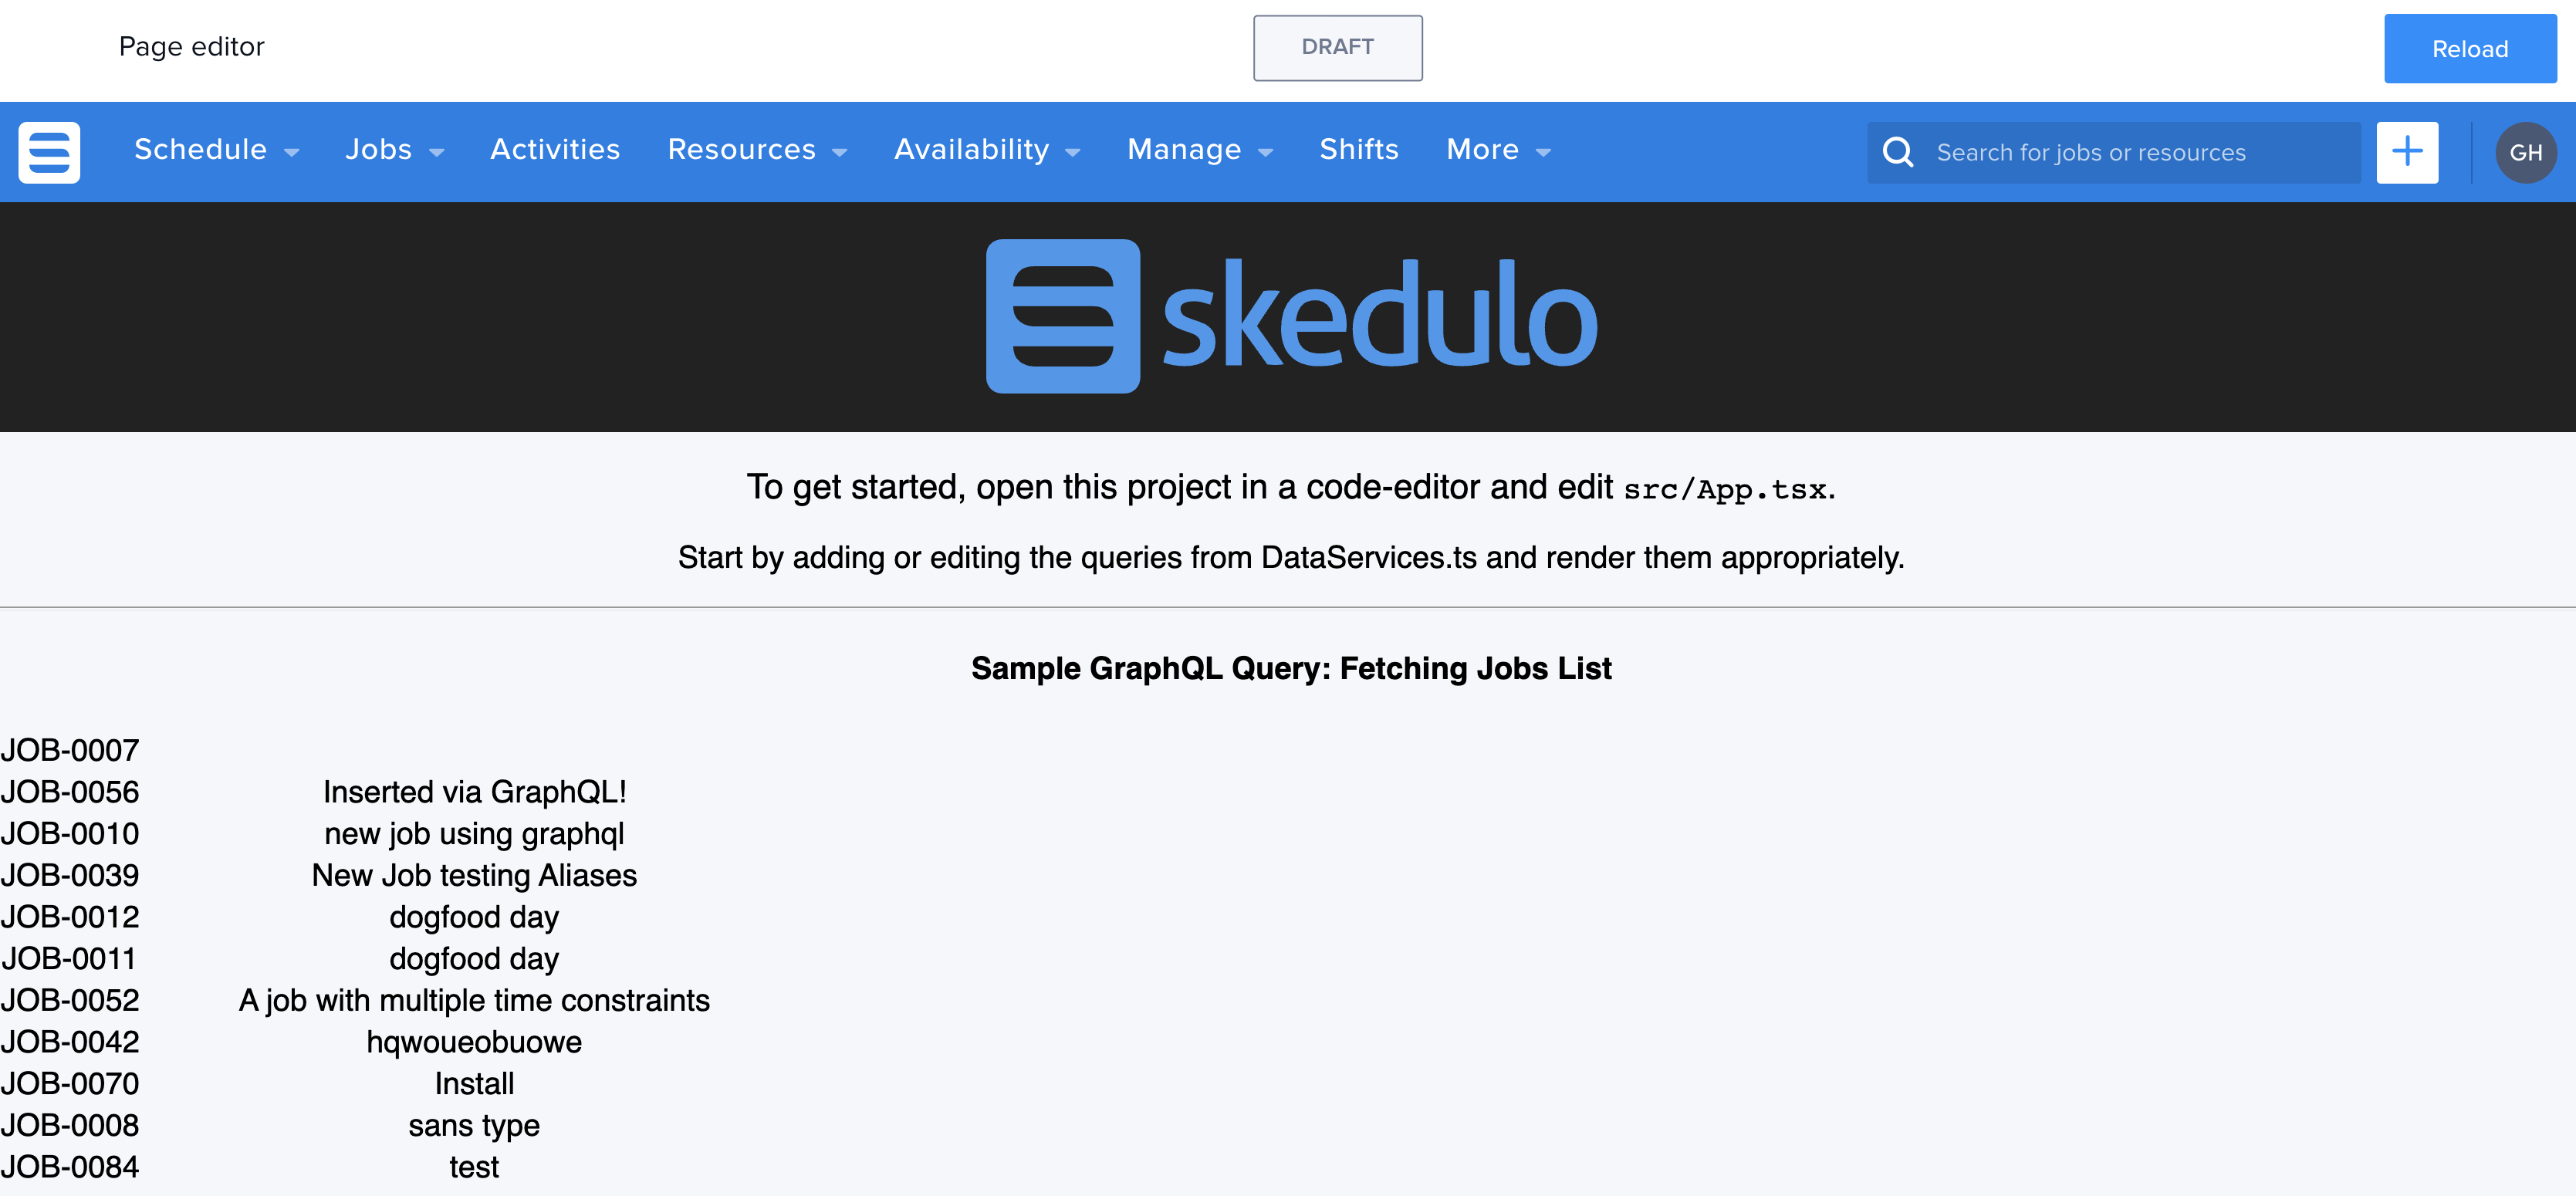
https://<teamname.skedulo.com/c-devBy default, the template shows the default (or draft) view of the page.
In the following example, the draft page features a simple GraphQL query used to fetch a list of jobs that is rendered on the screen:
-
Open the project folder to edit the following template files in an editor of your choice:
$PROJECT_FOLDER/src/App.tsx$PROJECT_FOLDER/src/Services/DataServices.ts$PROJECT_FOLDER/tslint.json
-
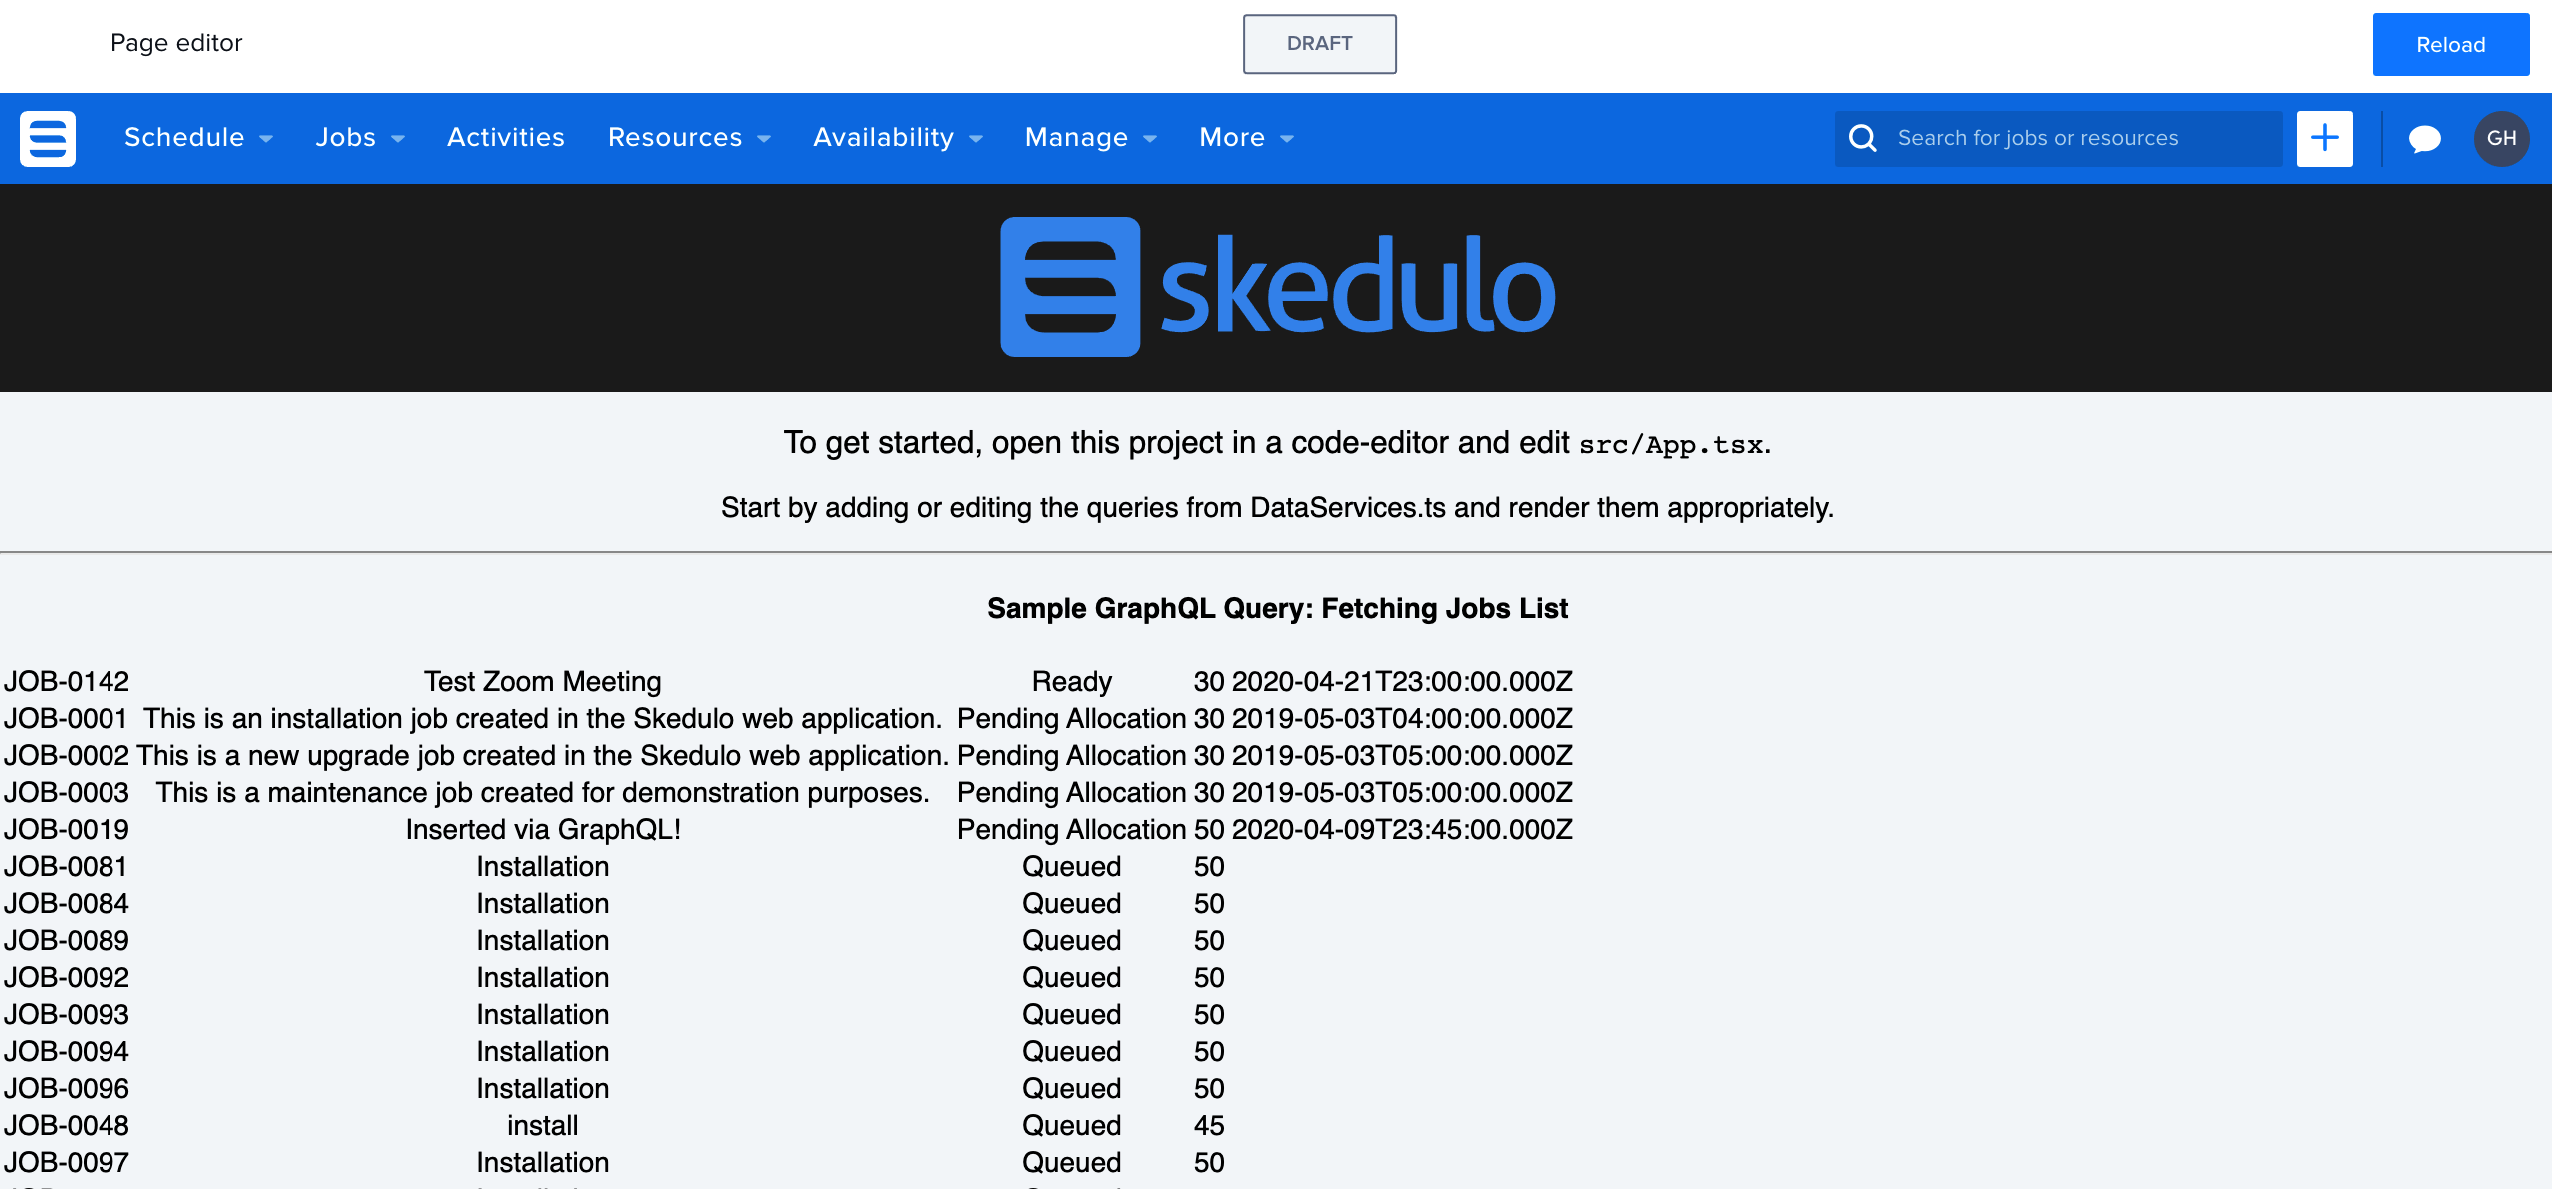
Update these files to change the data displayed.
a. In the
tslint.jsonfile, add the following line to theJSX-Rulessection:"max-line-length": [true, 240],This increases the allowable line length in the
App.tsxfile from the default(120) to240.b. Update the
DataServices.tsfile to includeJobStatus,Duration, andStartfields to the information retrieved by the GraphQL query:export interface Job { UID: string Name: string Description: string JobStatus: string Duration: string Start: string } const JobsQuery = ` { jobs(limit: 200) { edges { node { UID Name Description JobStatus Duration Start } } } } `c. Then edit the
App.tsxfile to display the new fields on the web extension:renderTableOfData = (data: AppState['data']) => { return ( <table> <tbody> { data.map(d => (<tr key={ d.UID }><td>{ d.Name }</td><td>{ d.Description }</td><td>{ d.JobStatus }</td><td>{ d.Duration }</td><td>{ d.Start }</td></tr>)) } </tbody> </table> ) }When you save the changes in the
App.tsxfile the SDK terminal automatically applies the changes and rebuilds the page. -
In the Skedulo web app page editor, click the Reload button in the upper-right of the page preview to quickly reload the contents of the page.
-
Click Cancel in the SDK to stop the the web extension developer environment in the SDK.
You can deploy your web extension to the to the Skedulo web application where you can then view, publish, or delete it.
Publish a standalone web extension
Prerequisite
You have finished developing your web extension and stopped the development environment.
-
With the web extension project open in the SDK, click Deploy.
This compiles the files, bundles them together, creates a tarball, and pushes it to the Skedulo server where it is processed and exposed as a web page within the web application.
-
Open Settings -> Web Extensions in the Skedulo web application. The web extension project you have created should be listed as a
Draftin the list of available pages. -
Click the checkbox next to the page to select it, or click the hamburger menu on the right of the page listing to display the drop-down menu.
a. To view the page without publishing it to the Skedulo application, click View.
b. When you are happy with the page, click Publish.
This automatically adds the page under More in the navigation menu.
You can remove the web extension in the Web extensions page by clicking Unpublish.
Click Delete to delete the page and remove it from the Skedulo deployment.
Note
You should unpublish an old version of a standalone web extension before publishing a new version.
This is because standalone web extensions do not automatically update the way that web extensions do when they are included in a package.
Previous versions of a standalone web extensions are not automatically unpublished when a new version is published.
Feedback
Was this page helpful?