Add Contact tags to Accounts using GraphQL
You can use GraphQL to create Account and Contact tags in the same way you create Job and Resource tags](/developer-guides/manage-and-schedule-work/use-tags/add-resource-tags-to-jobs-using-graphql).
Account and Contact tags can also be linked to Contact and Account objects using GraphQL.
Create tags using GraphQL
You can create a tag using a GraphQL mutation that looks like this:
mutation insertContactTag {
  schema {
    insertTags(input: {
      Name: "Contact Person"
      Classification: "Human"
      Type: "Skill"
    })
  }
}
Tags only require a Name and can optionally have Type or Classification fields.
Tag names must be unique
Usually you would assign an existing tag, rather than create a new one. The following examples create a new tag.
Tag names must be unique. Running these mutations more than once will fail due to a tag name clash.
The mutation will also fail if you do not have permission to create tags.
Associate Account and Contact tags with Account and Contact objects
To adding a tag to a contact or account requires a multi-step GraphQL mutation that relies on aliases to act as stand-in values for UID fields. You can learn more about aliases in GraphQL aliases for multiple actions.
The following GraphQL mutation uses idAlias to perform these actions sequentially:
- Create a
Test Accountaccount tag. - Create a
Test Contactcontact tag. - Create an account called
New Account. - Associate the new account with the
Test Accounttag. - Create a contact called
FirstContact LastContactand associate it with theNew Accountaccount. - Associate the contact with the
Test Contacttag.
mutation insertAccountContactTags {
  schema {
    accountTag: insertTags(input: {Name: "Test Account"}, idAlias: "TAG_ID_ACCOUNT")
    contactTag: insertTags(input: {Name: "Test Contact"}, idAlias: "TAG_ID_CONTACT")
    insertAccounts(input: {
      Name: "New Account"
    }, idAlias: "ACCOUNT_ID")
    insertAccountTags(input: {
      AccountId: "ACCOUNT_ID"
      Required: false
      TagId: "TAG_ID_ACCOUNT"
      Weighting: 3
    })
    insertContacts(input: {
      FirstName: "FirstContact"
      LastName: "LastContact"
      AccountId: "ACCOUNT_ID"
    } idAlias: "CONTACT_ID")
    insertContactTags(input: {
      ContactId: "CONTACT_ID"
      Required: false
      TagId: "TAG_ID_CONTACT"
      Weighting: 5
    })
  }
}
The response provides a UID for each of the actions that have completed successfully:
{
  "data": {
    "schema": {
      "accountTag": "000f2b2f-defe-4559-8424-1f6e42441c77",
      "contactTag": "000f1ae1-7045-4b8e-88c2-0e844c7d8492",
      "insertAccounts": "0002680a-06c4-475d-82f9-90ad7a2a64f0",
      "insertAccountTags": "002b077b-27c1-4d21-a033-9308ead6c282",
      "insertContacts": "0004331d-5fef-435f-a417-6ec198ec81e7",
      "insertContactTags": "002ca192-fd2f-4eef-b00d-9d1562b6e488"
    }
  }
}
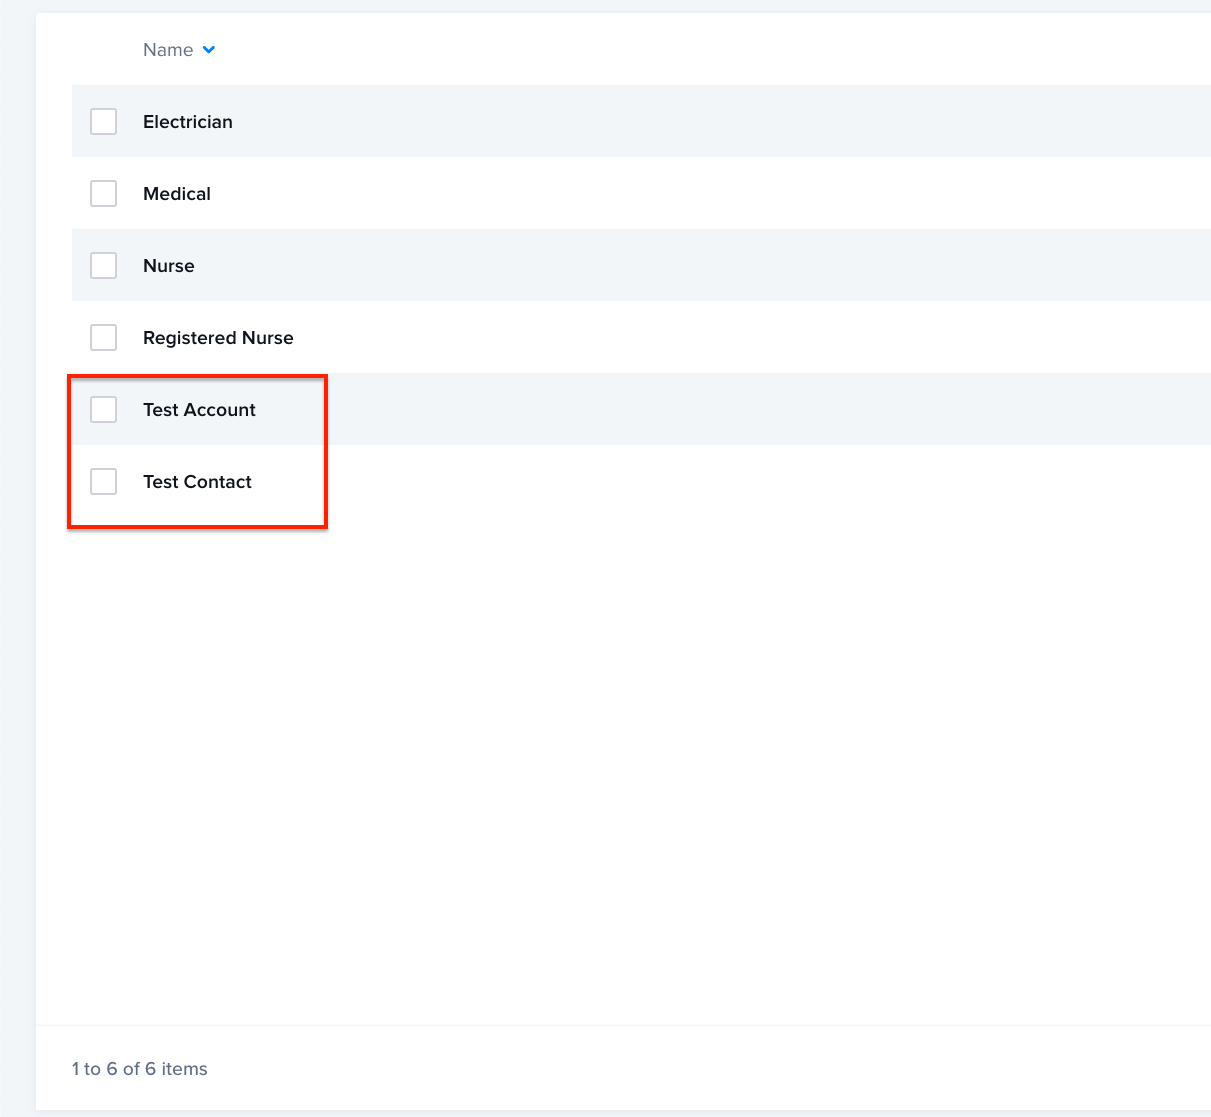
The new tags are available in the web application under Manage -> Tags:
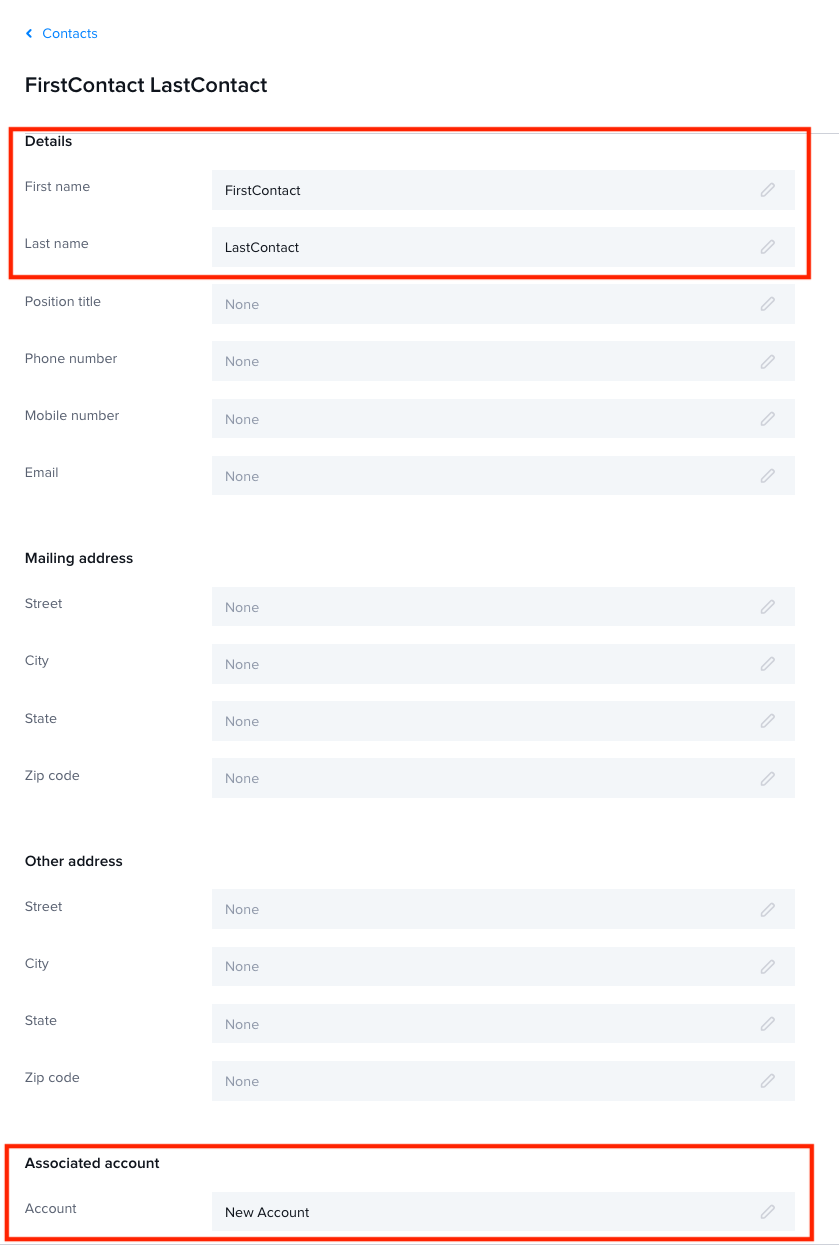
You can see in Manage -> Contacts that the new contact is associated with the new account.
Feedback
Was this page helpful?