Understand the Lookup and Has many custom field types
Overview
Skedulo enables you to add reference fields that create relationships between data objects. They are added in the same way as other custom fields, but behave slightly differently. You can add one of the following reference field types:
- Lookup
- Has many (can only be added when there is an existing Lookup)
This page describes how these two fields work and how you can add them to your data schema to best achieve your use case needs.
Add a Lookup field to an object
A Lookup field contains a reference to another object, called the target object. This creates a one-way relationship between objects. For this documentation, we will use an example scenario where a custom object, Supplier, has already been added to the system and we want to reference the object from the Jobs object so that when work is done there is a record of which supplier was used.
To add a field that references another object, do the following steps:
- In Settings > Data management > Objects & fields, add a custom object called
Supplierswith aName(text) andWebsite(URL) field. See the instructions in the user guide for Skedulo on Salesforce or for the Skedulo Pulse Platform for help, if required. - Navigate to the
Jobsdetail page and then click Add custom field. The Create Custom Field wizard displays. - Select Lookup and then click Next.
- Enter the field label:
Supplier. - Enter the field name:
Supplier. - (Optional) Enter a Description and Show if conditional display parameters. The latter is only applicable when adding a field to the
Jobsobject. - Click the Target object drop-down and select the
Suppliersobject.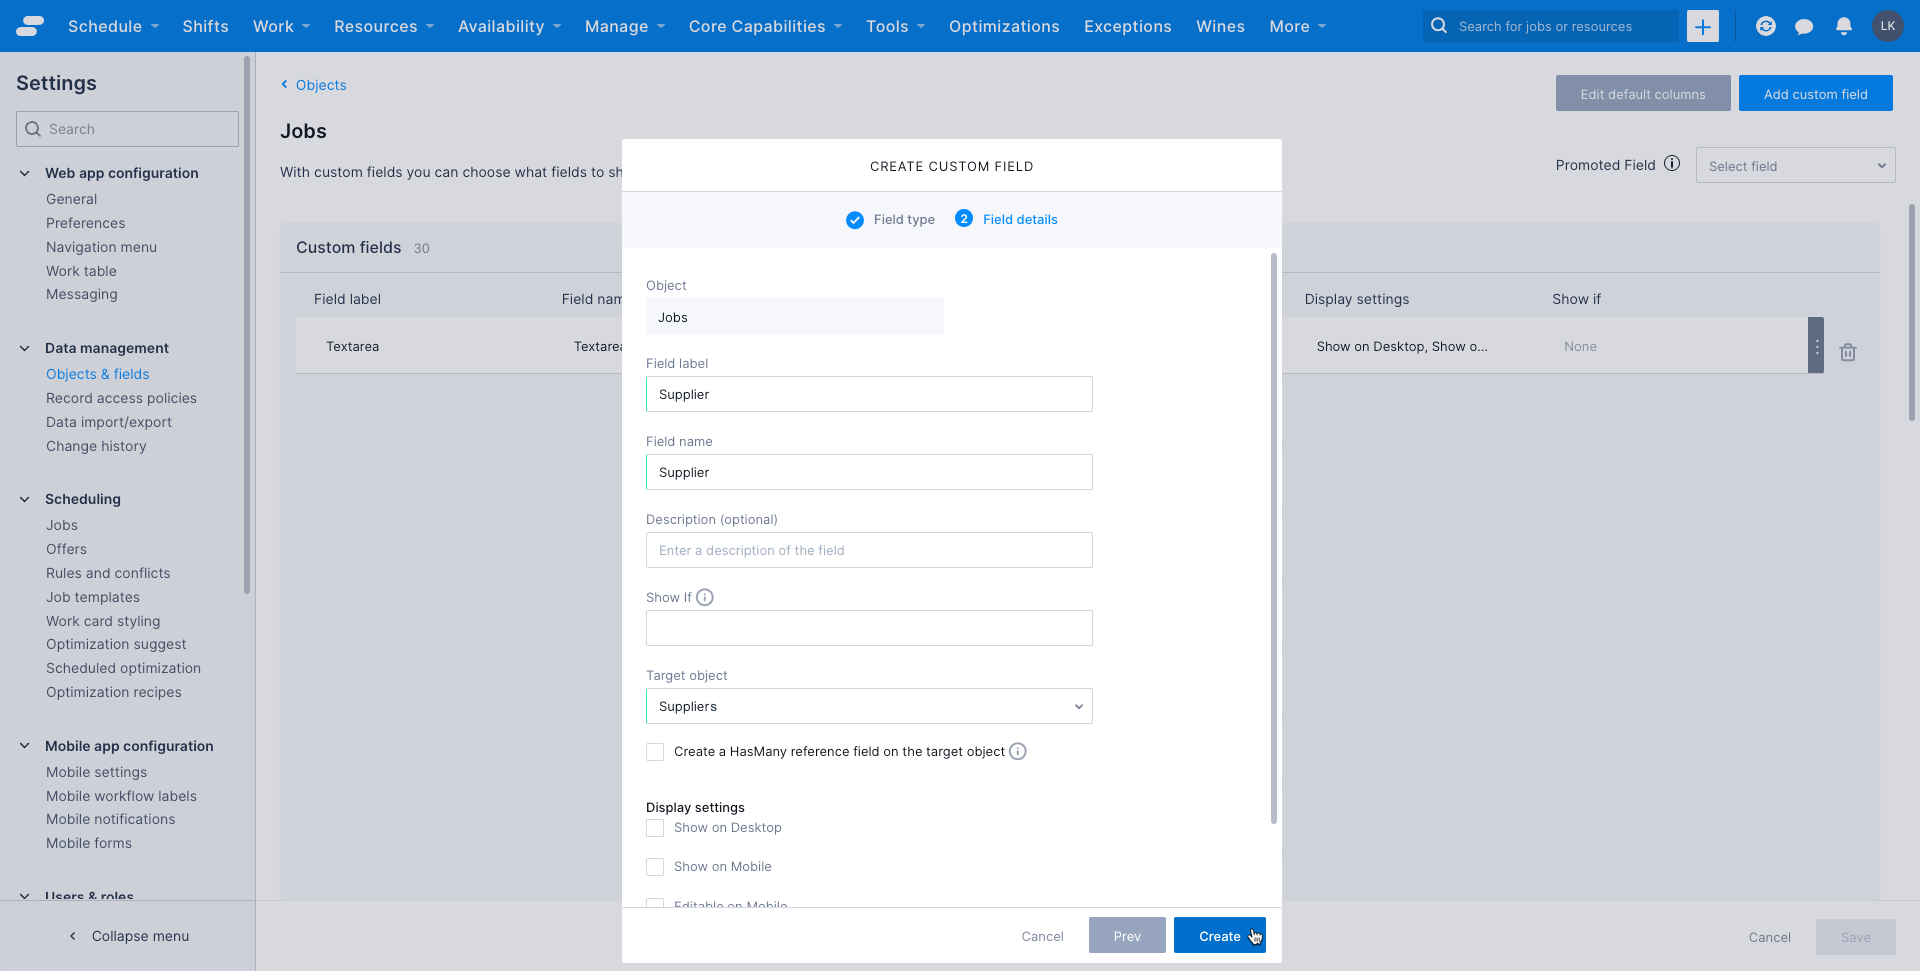
- Leave the Create a Has many reference field on the target object checkbox unselected, because we only want to add the one-way Lookup in this case.
- Select Display settings as required.
- Click Create.
Add a Lookup field with a corresponding Has many field
In addition to the Lookup field, where one object references a target object, you may also want a field on the target object that contains all the instances of objects that refer to it. These objects can be retrieved as an array via the GraphQL API. This relationship is a Has many type, since (as in our example) each job has a supplier, but a supplier record may have many jobs associated with it. A Has Many can be added at the same time as the corresponding Lookup by following the steps described above and adding the additional steps below.
These steps describe what to do to create a Supplier field on the Jobs object with a lookup relationship to the Suppliers object, and create a Jobs field on the Suppliers object that has a Has many relationship with the Jobs object.
To add a Lookup field and a corresponding Has many field, do the following steps:
- Follow steps 1-8 above to add a Lookup field to an object.
- Select the Create a Has many reference field on the target object.
- Enter a field name and field label. These should be plural. In this example they can both be
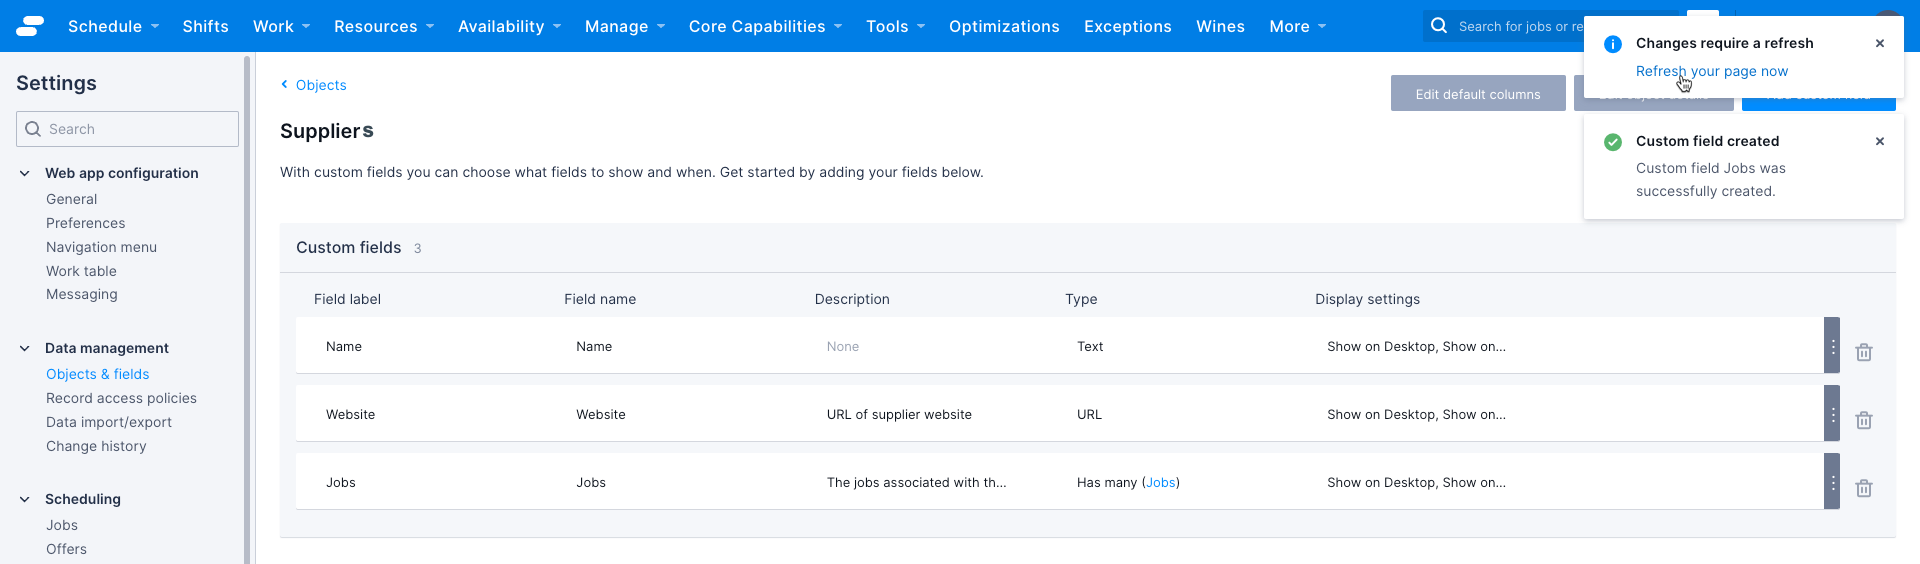
Jobs, for the field that you are adding to the target object. - Click Create. A confirmation message displays and a request to refresh your browser. Click Refresh your page on the notification to complete the field configuration.
Add a field with a Has many relationship to an object that has an existing Lookup field
If you elected to create a Lookup field without a corresponding Has many field as part of the same process, you can still add it afterwards. Or you may want to add a Has many to an existing standard Lookup relationship, for example, all the Locations in a Region.
The instructions that follow assume that you only completed the steps in Add a Lookup field to an object before proceeding.
To create a custom field on the object that a Lookup field references, do the following steps:
- In Settings > Data management > Objects & fields, navigate to the object (
Suppliersin this example). - Click Add custom field. The Create Custom Field wizard displays.
- Select Has many and then click Next.
- Enter a field name and field label. Generally these should be plural. In this case they can both be
Jobs. - (Optional) Add a description for the field.
- Click the Target object drop-down, and then select
Jobs. - Click the
Target fielddrop-down and select the Lookup field you created previously.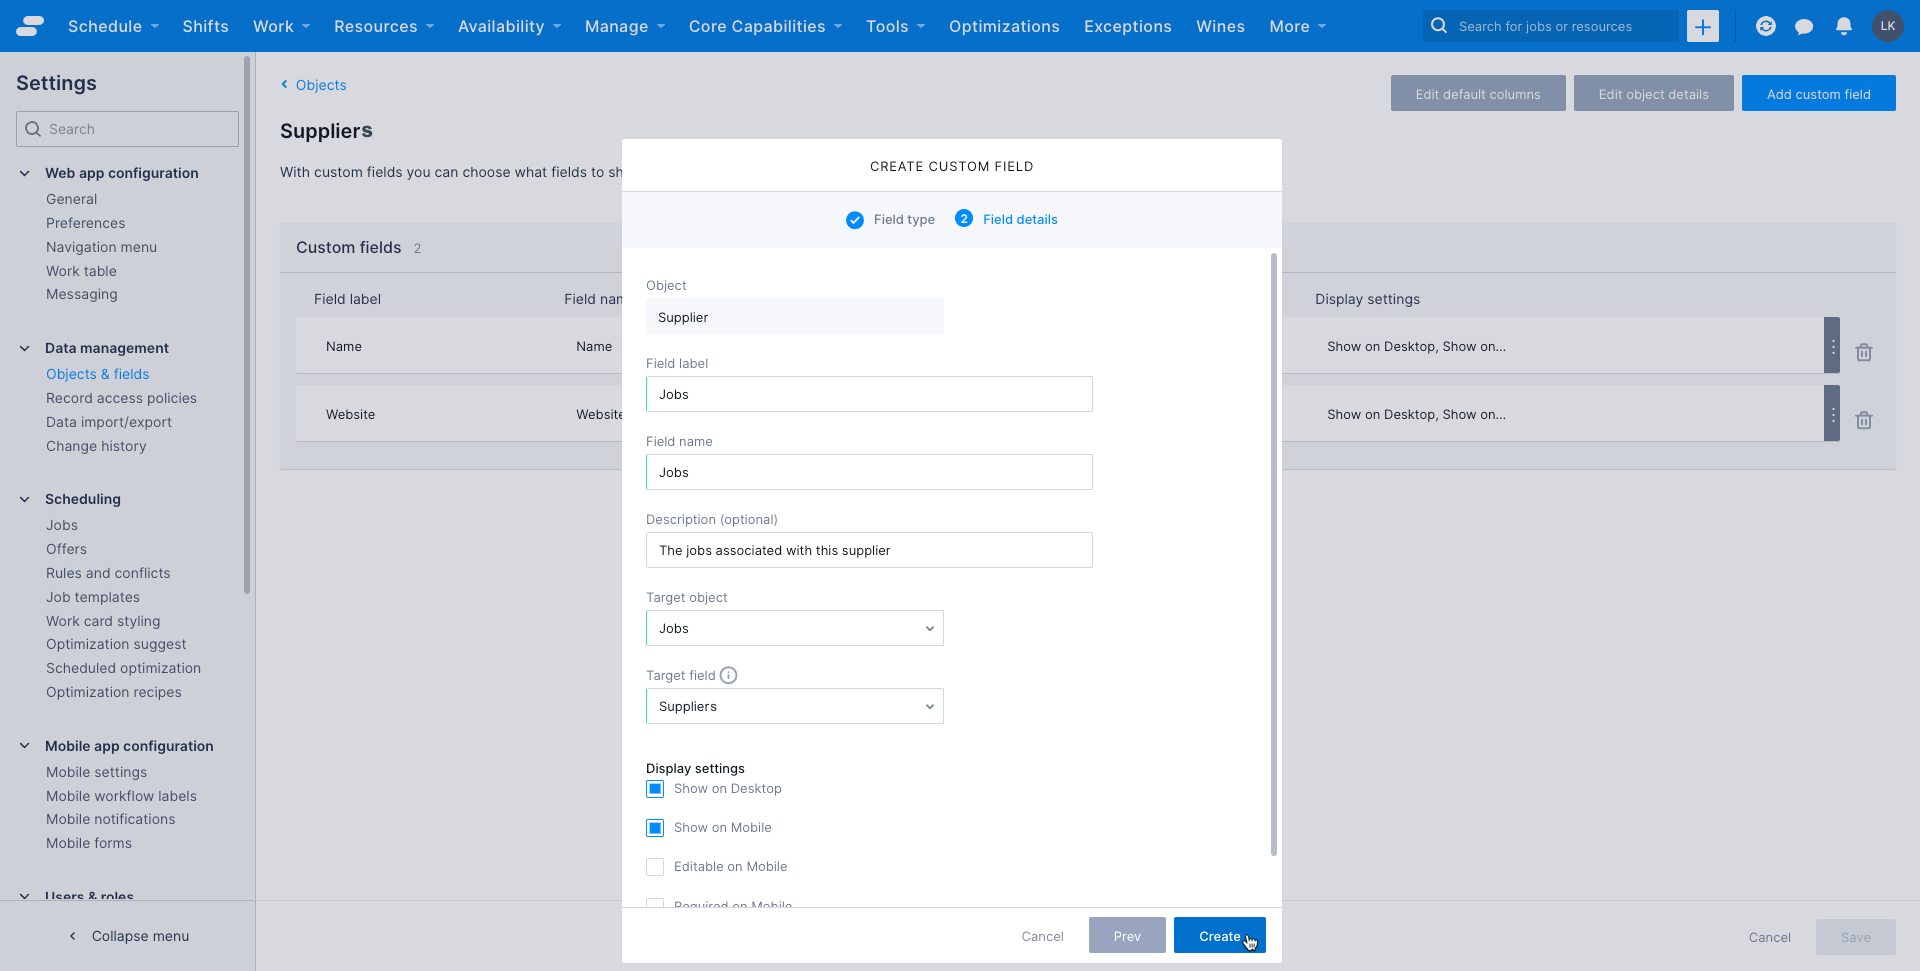
- Click Create. A confirmation message displays and a request to refresh your browser. Click Refresh your page on the notification to complete the field configuration.
Tip
You can easily navigate between related objects (objects that have a Lookup or Has many field configured) by clicking the object name in the Type column of the Object details page.Feedback
Was this page helpful?