Create an object and add custom fields
For this example, we need to first create the Arcade Games custom object and then create some custom fields so we can enter some data.
Create the Arcade Games object
To create the custom Arcade Games object in the Skedulo Pulse Platform:
-
Navigate to Settings > Data management > Objects & fields.
-
On the Objects & fields page, click Create custom object to display the Create Custom Object modal.
-
Enter a label, name, and description for your object. In this example, we want to be able to keep track of our stock of arcade game machines, so we will enter the following:
- Object label: Arcade Games
- Object name: ArcadeGames
- Object description: Arcade game machines in stock.
-
Click Create. The new Arcade Games object is created and can now be found on the Objects & fields page.
In addition to this, a set of default page templates and config files are created. For this example, the page templates we are interested in are the -create, -edit, -view, and -list templates. They can be accessed from the Settings > Developer tools > Platform settings (beta) page, but before we do that, we should add some custom fields to the object.
Add custom fields to the Arcade Games object
Add custom fields to your object so that you can record the required data.
- Navigate to Settings > Data management > Objects & fields.
- On the Objects & fields page, click Arcade Games to open the custom object’s page.

- Click Add custom field to display the Create Custom Field modal.
- Select Text and click Next.
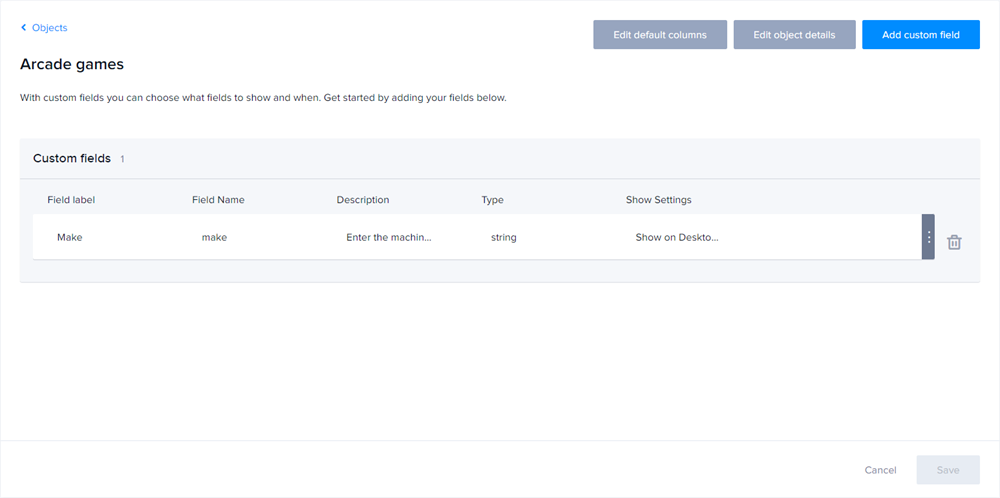
- Complete the required information. In this example, we will enter the following for the first field:
- Field label: Make
- Field name:
make - Description (optional): Enter the machine’s make
- Field length: 255
- Select the Display settings for the field.
- Click Create. The custom field is added to the Arcade Games object page.
- Add the rest of your fields. You can add as many as are required and choose between ten different field types. The order in which you add them is not important as this can be changed when we configure the pages later.
For the Arcade Games example, we will add the following fields:
| Field label | Field name | Field type | Details |
|---|---|---|---|
| Make | make |
Text | |
| Cost per day | costperday |
Number | |
| Name | Name |
Text | |
| Category | category |
Picklist (with multi-select) | Add options to categorise the games, such as: First-person shooter, Sports simulation, Driving simulation. |
| Style | style |
Picklist | Add options to define the style of the machine, such as: Cockpit arcade machine, Freestanding cabinet arcade machine, Bartop arcade machine. |
| Maintenance due | maintenancedue |
Date | |
| Status | status |
Picklist | Add options to define the status of the machine, such as: Available, Rented, Needs repair. |
| Repair history | repairhistory |
Text area | |
| Last seen by | lastseenby |
Text | |
| Theme | theme |
Text | |
| Image | imageurl |
Text | |
| ID number | Id |
Text | |
| Web page | linkurl |
Text |
Important
The Label is the value which is displayed in the web app, the Name is used to identify the field within the object.On the default arcade-games-create template, these fields will render as follows:
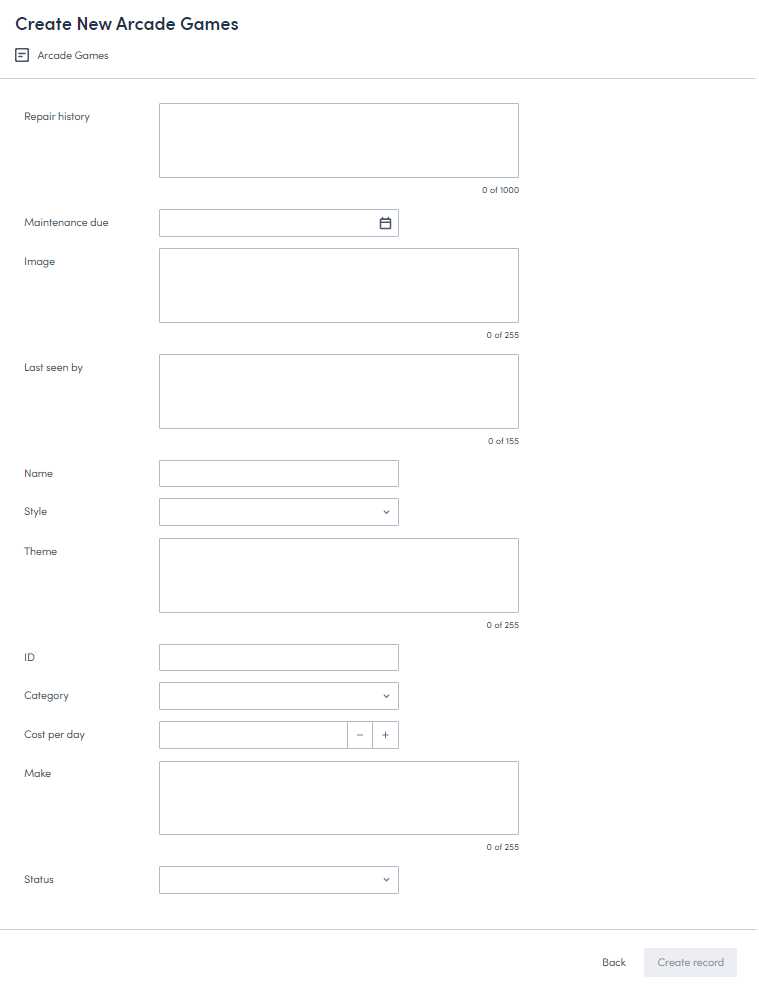
To change the order in which the fields appear and the way in which they’re set out on the page, you can override the default Create record page template.
Feedback
Was this page helpful?