Create a webhook
Overview
Webhooks are used to notify other applications of specific events or changes that occur in your Skedulo application in real-time.
You can use the Skedulo API or Skedulo CLI to establish webhooks between the Skedulo application and your secure HTTPS API to implement specific event reactions. For example, your application may need to be notified every time a new job is created, every time a job is updated with resource information, or every time a job status changes from Queued to Dispatched.
Skedulo also supports deferred webhooks and filtering, which means that you can configure your webhooks to fire if an object has a field equal to a specified value after a set period of time. For example, you can configure a webhook to send a notification if the status of a job has not been changed to Pending Dispatch within 24 hours of the job creation time.
This chapter demonstrates how to set up webhooks for Skedulo using the Skedulo API and ngrok, which is a useful tool for locally testing and viewing webhook responses.
About ngrok
For development purposes, this chapter uses ngrok to establish a secure HTTP tunnel to a server running on your local machine.
Skedulo only permits HTTPS URLs for webhooks.
Prerequisites
-
You must have an API user configured in your Skedulo organization. See Skedulo API user for more information.
-
You have a valid API access token and have configured this as an environment variable. This example uses
$AUTH_TOKENto represent the API authentication environment variable. -
Node/NPM is installed.
-
(Optional) jq is installed.
This example uses
.jsonfiles executed using cURL commands for readability and simpler query creation -
Tracking must be enabled on custom objects that the webhook uses. Tracking is automatically enabled on most standard objects, and all custom objects created after 10 May 2024. Objects created prior to this date will need to have tracking manually enabled. Additionally, Skedulo for Salesforce teams require additional configuration within Salesforce.
Enable tracking on a custom object
To manually enable tracking on an object, do the following steps.
-
Find the
objectIdof the custom object by making the following request:curl --location --request POST “https://api.skedulo.com/custom/schemas” --header "Authorization: Bearer <token>" -
Pass the
objectIdto this endpoint:curl --location --request POST "https://api.skedulo.com/custom/standalone/schema/{objectId}/track" --header "Authorization: Bearer <token>"
Create & test a webhook
Setup
-
Create and open a
webhooksfolder from the terminal:mkdir webhooks && cd webhooks -
Download and install ngrok in the
webhooksfolder:a. Go to https://ngrok.com/ and click Download.
b. Download the version of ngrok for your operating system.
c. Unzip ngrok into the
/webhooksfolder. -
Create a file called
httpserver.jswith the following configuration:const http = require("http"); http.createServer((req, res) => { const body = []; req .on('data', (chunk) => { body.push(chunk); }) .on('end', () => { const bodyStr = Buffer.concat(body).toString(); const obj = { headers: req.headers, body: JSON.parse(bodyStr) } console.log(JSON.stringify(obj, null, 2)) res.write(JSON.stringify(obj, null, 2)) res.end() }); res.writeHead(200, {"Content-Type": "application/json"}) }).listen(8080) -
Start the HTTP server in one terminal:
node httpserver.js -
Start ngrok in another terminal:
./ngrok http 8080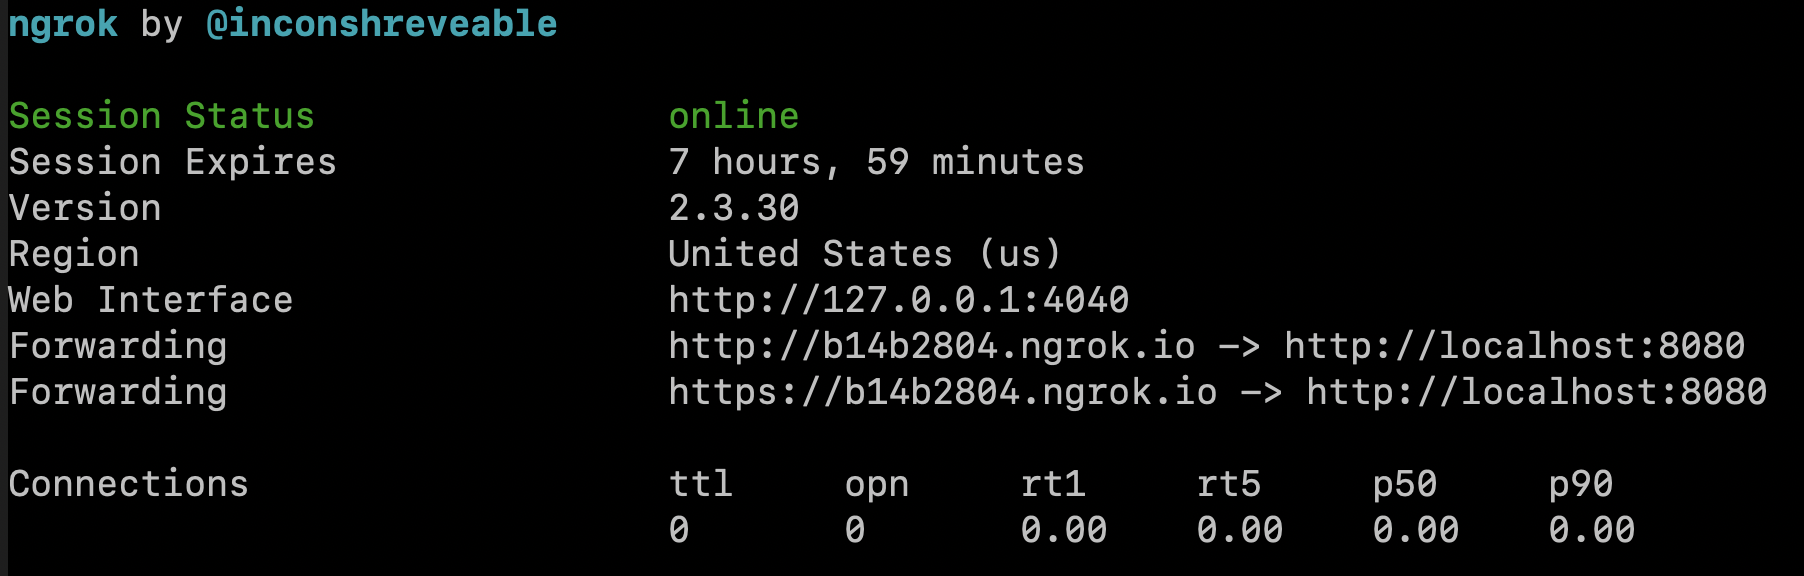
Take note of the HTTPS address of your ngrok server. For example:
https://b14b2804.ngrok.io
Create the webhook
Via the API
-
In another terminal, create a file called
webhook.js.This is just so you can create your queries in a readable way. It’s not necessary if you want to just send your JSON queries using a cURL command.
Add the following content to your
webhook.jsfile, using the HTTPS ngrok server address as theurl.const url = "https://b14b2804.ngrok.io" const json = { name: "test", url: url, type: "graphql", query: ` subscription { schemaJobs { operation timestamp data { UID Duration } previous { Duration } } } ` } console.log(JSON.stringify(json, null, 2))- One of the fields in the
datablock needs to change to call the webhook. In this case, this includesUIDandDuration. - The
schemaJobsfield also acceptsfilterandextendedFilterparameters. - The
operationparameter can be used to ignore events that do not have the operation value. Theoperationparameter accepts an array of values:INSERT,UPDATEorDELETE.
- One of the fields in the
-
Create a webhook request body:
node webhook.js > temp.json -
Create a
POSTrequest to the Skedulo API that references thetemp.jsonfile containing the GraphQL subscription request:curl -s -X POST -H "Authorization: Bearer $AUTH_TOKEN" -H "Content-Type: application/json" -d @temp.json 'https://api.skedulo.com/webhooks' | jqThis returns the following response in the terminal:
{
  "result": {
    "id": "9849cceb-c426-488b-89dc-6ff02b33802d",
    "name": "test",
    "url": "https://b14b2804.ngrok.io",
    "headers": {},
    "query": "\n    subscription {\n      schemaJobs {\n        operation\n        timestamp\n        data {\n          UID\n          Duration\n        }\n        previous {\n          Duration\n        }\n      }\n    }\n  ",
    "customFields": {},
    "type": "graphql"
  }
}
Via the CLI
-
In another terminal, create a file called
webhook.js. This is just so you can create your webhook queries in a readable way.Add the following content to your
webhook.jsfile, using the ngrok server address as theurl.const url = "https://b14b2804.ngrok.io" const json = { metadata: { type: "Webhook" }, name: "my-webhook", webhook: { url: url, type: "graphql", query: ` subscription { schemaJobs { operation timestamp data { UID Duration } previous { Duration } } } ` } } console.log(JSON.stringify(json, null, 2))- One of the fields in the
datablock needs to change to call the webhook. In this case, this includesUIDandDuration. - The
schemaJobsfield also acceptsfilterandextendedFilterparameters. - The
operationparameter can be used to ignore events that do not have the operation value. Theoperationparameter accepts an array of values:INSERT,UPDATEorDELETE.
- One of the fields in the
-
Create a webhook state file:
node webhook.js > my-webhook.webhook.json -
Run the following command to create the webhook from the state file:
sked artifacts webhook upsert -f my-webhook.webhook.json
Test the webhook
-
Create a new job using a GraphQL query.
The following response should appear in the terminal window that is listening on port
8080:{ "headers": { "user-agent": "Skedulo-Webhook", "skedulo-webhook-id": "9849cceb-c426-488b-89dc-6ff02b33802d", "skedulo-request-id": "317cc297-c9cb-41e5-a741-366b3724cb8e", "content-length": "182", "content-type": "application/json; charset=UTF-8", "accept-encoding": "gzip, deflate", "host": "b14b2804.ngrok.io", "accept": "*/*", "x-forwarded-proto": "https", "x-forwarded-for": "34.215.60.60" }, "body": [ { "data": { "schemaJobs": { "data": { "UID": "00145d1e-974a-4f97-9cd7-7cd280f824a8", "Duration": 60 }, "previous": { "Duration": 60 }, "operation": "INSERT", "timestamp": "2019-07-02T03:29:35.969Z" } } } ] }You can also view the webhook trigger request responses in the local ngrok web interface.
-
Update a job to change the
Durationto30. The response displays in the terminal:{ "headers": { "user-agent": "Skedulo-Webhook", "skedulo-webhook-id": "9849cceb-c426-488b-89dc-6ff02b33802d", "skedulo-request-id": "fdf22ac0-b6d5-4453-9bfa-9735c7e2cdde", "content-length": "182", "content-type": "application/json; charset=UTF-8", "accept-encoding": "gzip, deflate", "host": "b14b2804.ngrok.io", "accept": "*/*", "x-forwarded-proto": "https", "x-forwarded-for": "34.215.60.60" }, "body": [ { "data": { "schemaJobs": { "data": { "UID": "00145d1e-974a-4f97-9cd7-7cd280f824a8", "Duration": 30 }, "previous": { "Duration": 60 }, "operation": "UPDATE", "timestamp": "2019-07-02T03:31:27.970Z" } } } ] } -
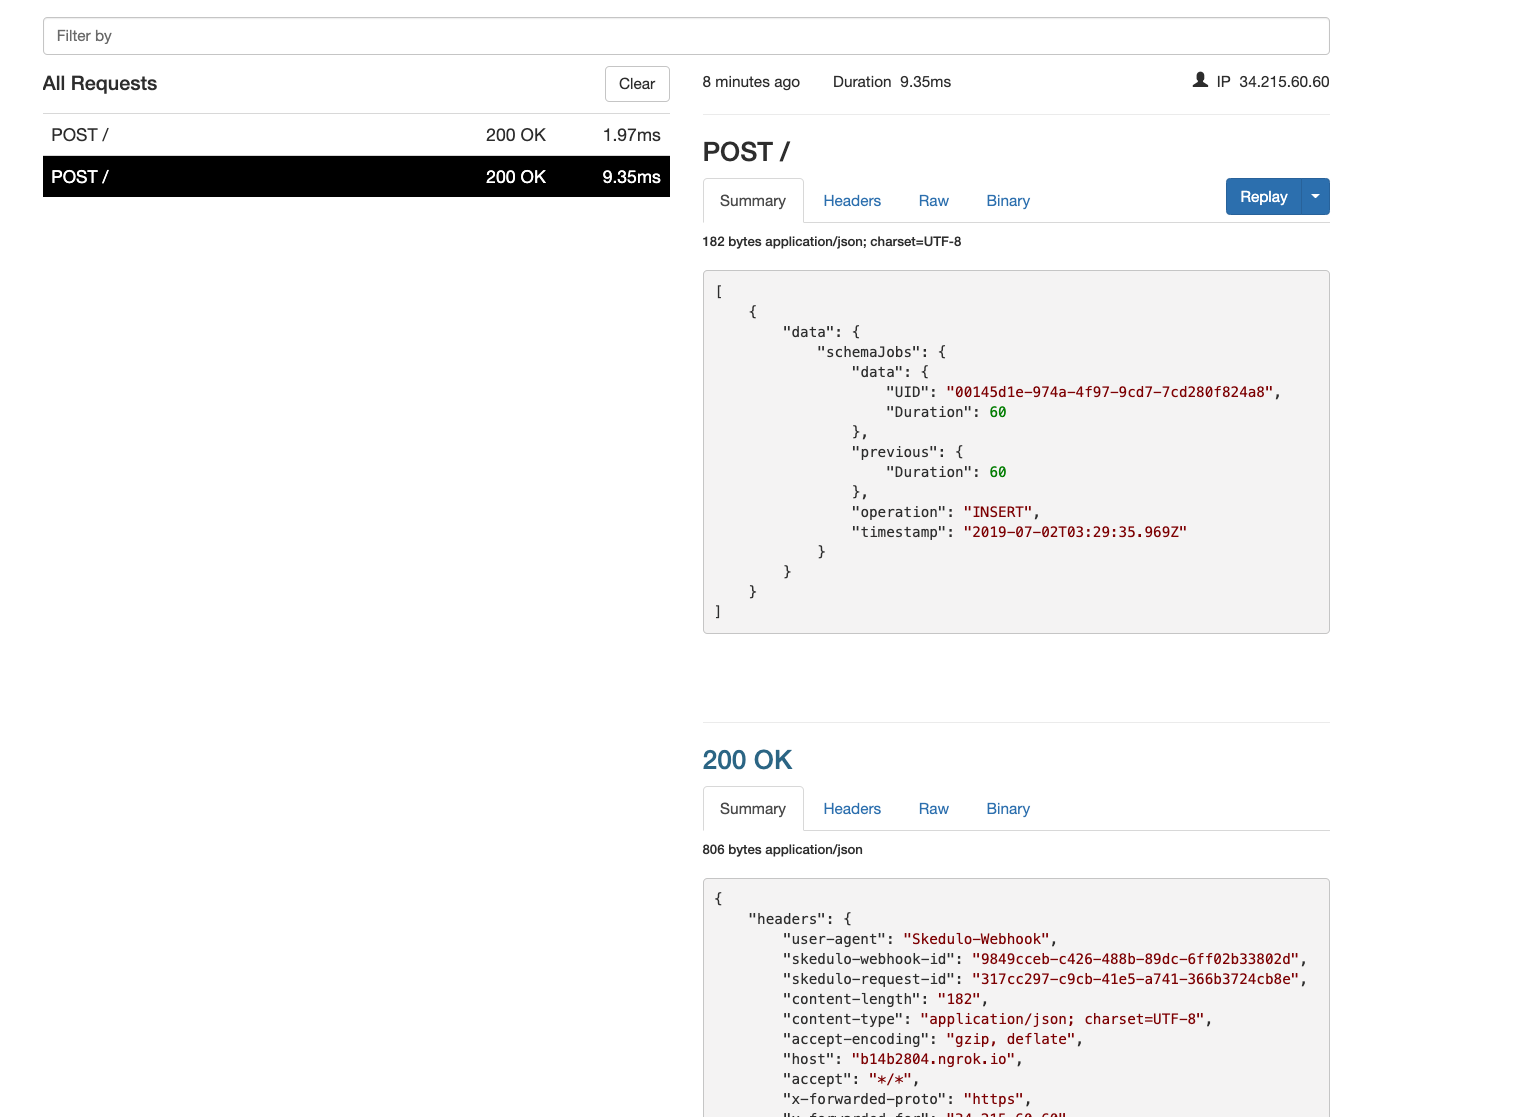
A record of the HTTP request appears in the terminal tab that is running ngrok:
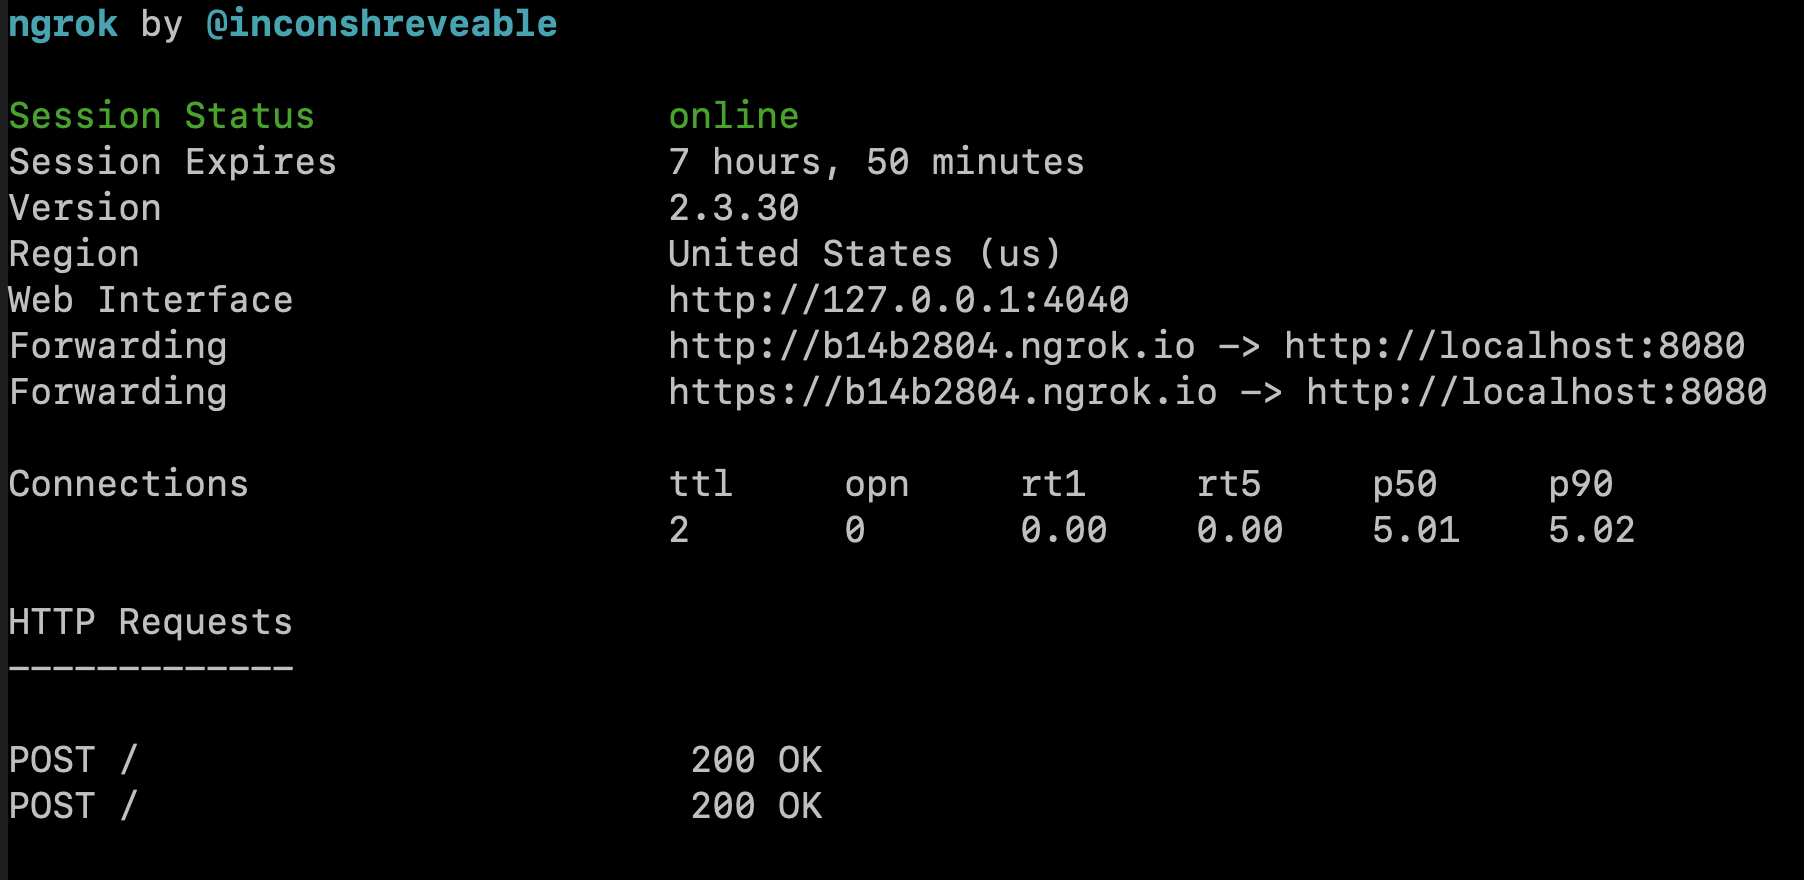
The ngrok web interface also shows both of the operations and responses:
Use configuration variables in webhooks
To make webhooks more portable, they can make use of configuration variable templates.
Templates are formatted as {{ CONFIG_VAR_NAME }} and are supported on these webhook fields:
urlheaders
Example:
{
    "type": "graphql",
    "query": "subscription { schemaJobs { operation timestamp data { Description }}}",
    "name": "job-webhook",
    "url": "{{ JOB_CHANGED_URL }}",
    "headers": {
        "X-Demo": "{{ JOB_CHANGED_HEADER }}"
    }
}
When the webhook is triggered, the templates will resolve to the values of the configuration variables. If any of the configuration variables are not found, then the webhook will fail.
Retrieve webhooks
Via the API
You can retrieve webhooks that are currently set up for your tenancy using the following cURL command:
curl -s -X GET -H "Authorization: Bearer $AUTH_TOKEN" https://api.skedulo.com/webhooks
Because I still have both the test and test_deferred webhooks active, the response returns both webhooks:
{
  "result": [
    {
      "id": "9849cceb-c426-488b-89dc-6ff02b33802d",
      "name": "test",
      "url": "https://b14b2804.ngrok.io",
      "headers": {},
      "query": "\n    subscription {\n      schemaJobs {\n        operation\n        timestamp\n        data {\n          UID\n          Duration\n        }\n        previous {\n          Duration\n        }\n      }\n    }\n  ",
      "customFields": {},
      "type": "graphql"
    },
    {
      "id": "6b6d32e0-ad1f-45fa-9f03-b5264ca02ecb",
      "name": "test_deferred",
      "url": "https://b14b2804.ngrok.io",
      "headers": {},
      "schemaName": "Jobs",
      "fieldName": "CreatedDate",
      "offset": 10000,
      "filter": "Description != 'cancel'",
      "query": "\n      subscription {\n        jobs {\n          UID\n          Name\n          Description\n          Duration\n          Start\n          End\n          CreatedDate\n          JobAllocations {\n            UID\n          }\n        }\n      }\n    ",
      "customFields": {},
      "type": "graphql_deferred"
    }
  ]
}
Via the CLI
Run the following command to fetch a list of webhooks:
sked artifacts webhook list
which will return a response such as:
✔ Fetching Webhook list...
 name               type    url
 ────────────────── ─────── ───────────────────────
 my-webhook         graphql https://my-api/callback
Each webhook can then be retrieved by name by running the get command, for example:
sked artifacts webhook get --name my-webhook
Delete a webhook
Via the API
To delete a webhook when it is no longer required, use the following cURL command with the webhook id.
curl -s -X DELETE -H "Authorization: Bearer $AUTH_TOKEN" 'https://api.skedulo.com/webhooks/a0cd6a80-8a9d-4ed5-92f6-9c0e03b6281e'
Via the CLI
To delete a webhook when it is no longer required, run the delete command specifying the webhook’s name, for example:
sked artifacts webhook delete --name my-webhook
Feedback
Was this page helpful?