Create a data-mapped form to update the job record
Overview
When you want to allow resources to update the job record they are working on without storing the data in a separate object, then you can create a data-mapping form to update the job’s fields in the Skedulo Pulse Platform.
A data-mapped form is a type of form that directly links collected data to specific fields in the Jobs object. This allows resources to submit any input fields through the form, which automatically updates the corresponding fields in the Jobs object.
You can create up to 40 mobile forms using the web-based Form Builder for your Skedulo Plus mobile application.
This document shows you how to create a mobile form in the Skedulo Pulse Platform that allows users to update the job’s fields in the Skedulo Plus mobile app.
Prerequisites
You must be an administrator or a user with the following permissions:
- Configuration > View organization settings
- Configuration > Modify organization settings
Prepare form data schema
Before creating mobile forms with the Form Builder, ensure that you’ve created all necessary custom fields in the Jobs objects in advance to store the data collected from the mobile form.
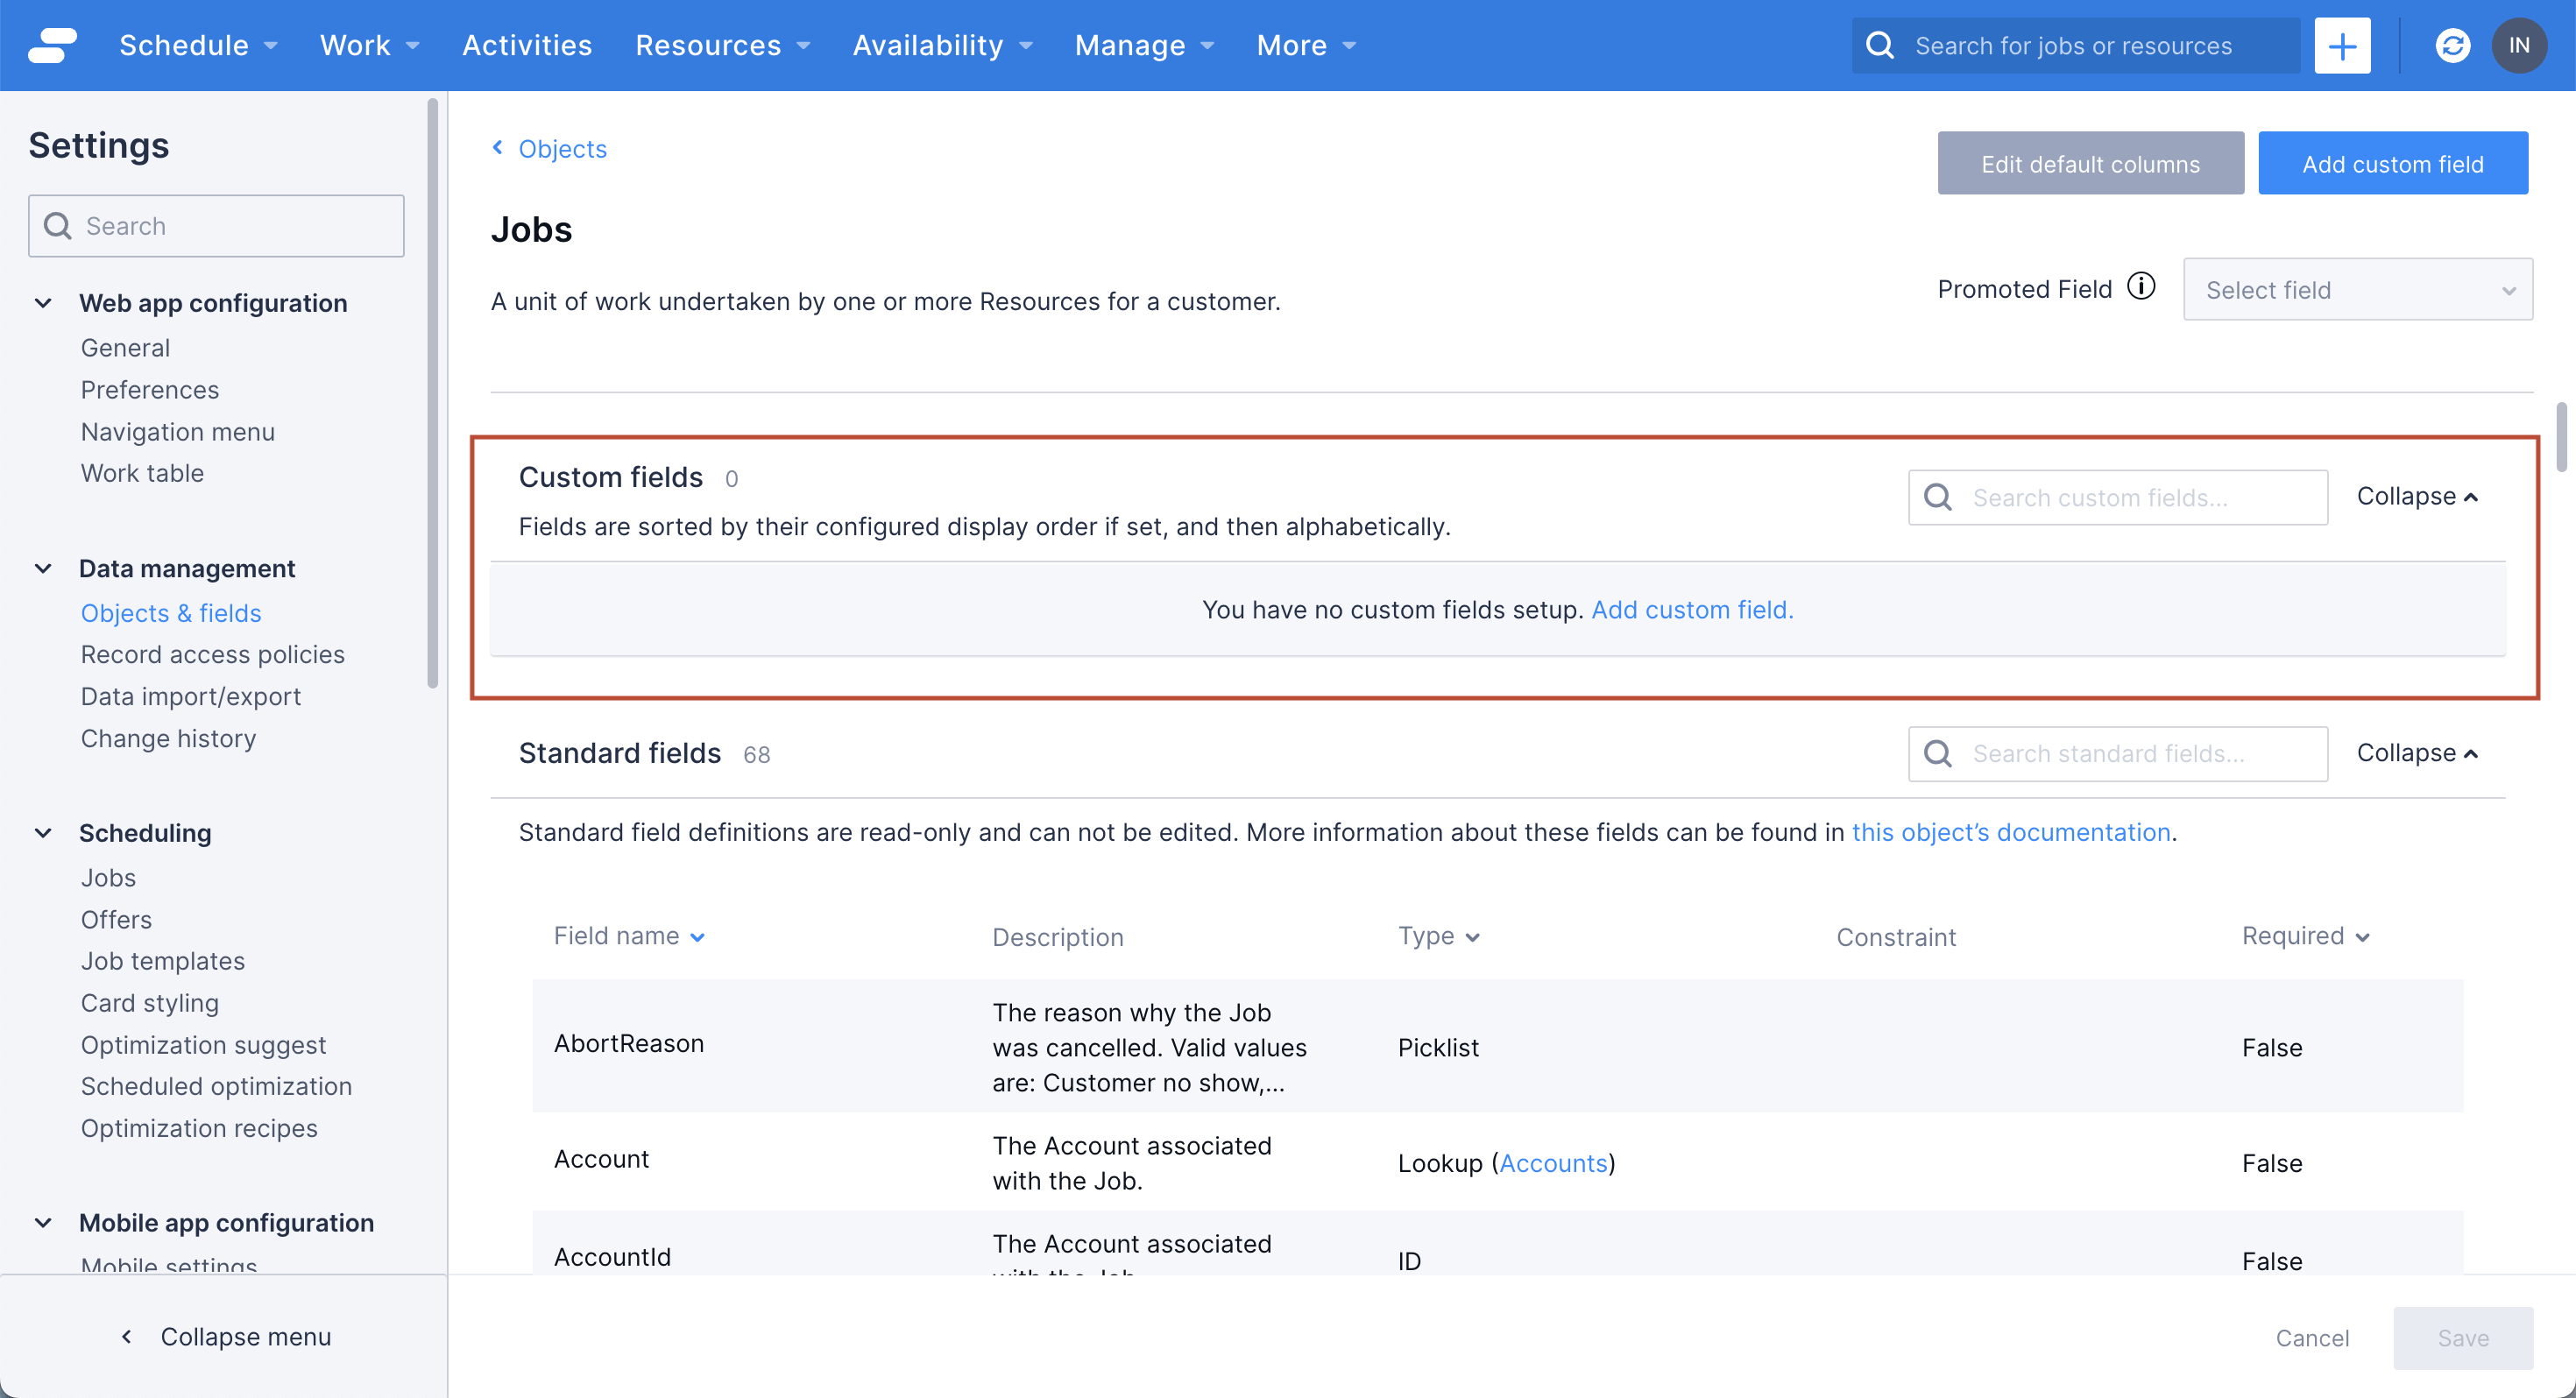
For detailed steps on how to create custom fields in the Skedulo web app, refer to Create custom fields in the Skedulo Pulse Platform.
Create new forms with data mapping
Follow these steps to create a form to update the job record:
-
Navigate to Settings > Mobile app configuration > Mobile forms in the Skedulo web app.
-
Click Create form in the upper-right corner of the page.
-
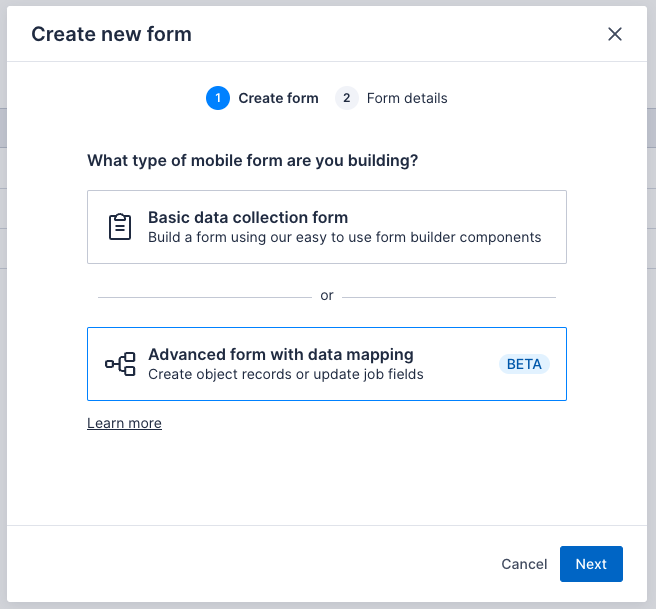
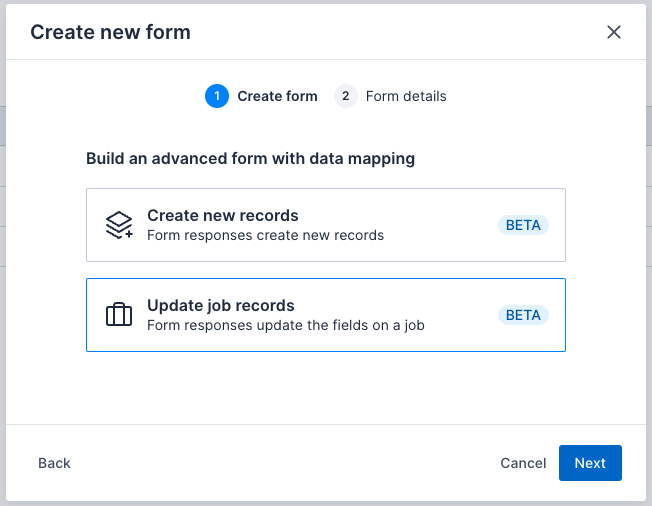
The Create new form modal appears. Select Advanced form with data mapping then click Next.
-
On the Create form screen, select Update job records.
-
Click Next to go to the next screen.
-
On the Form details screen, complete the form details.

| Field | Required | Description |
|---|---|---|
| Form title | Yes | This is the title or name of the form that mobile users will see in the Skedulo Plus app. It has the following rules:
|
| Form description | Optional | The form description. This appears underneath the form title in the Skedulo Plus app. |
| Form type | Yes | Where the form will be displayed in Skedulo Plus is as follows:
|
| Display order | Yes | Where there are multiple forms shown in the same location, the display order determines the order in which the forms are shown. Forms with lower numbers appear higher in the list. |
| Form type | Yes | These fields are automatically pre-filled. |
| Data mapping | Yes | These fields are automatically pre-filled. |
-
Click Create.
The form is created as a draft to be edited and configured using the Form Builder.
You’ve successfully created the form. Now you can edit the form details and start adding components.
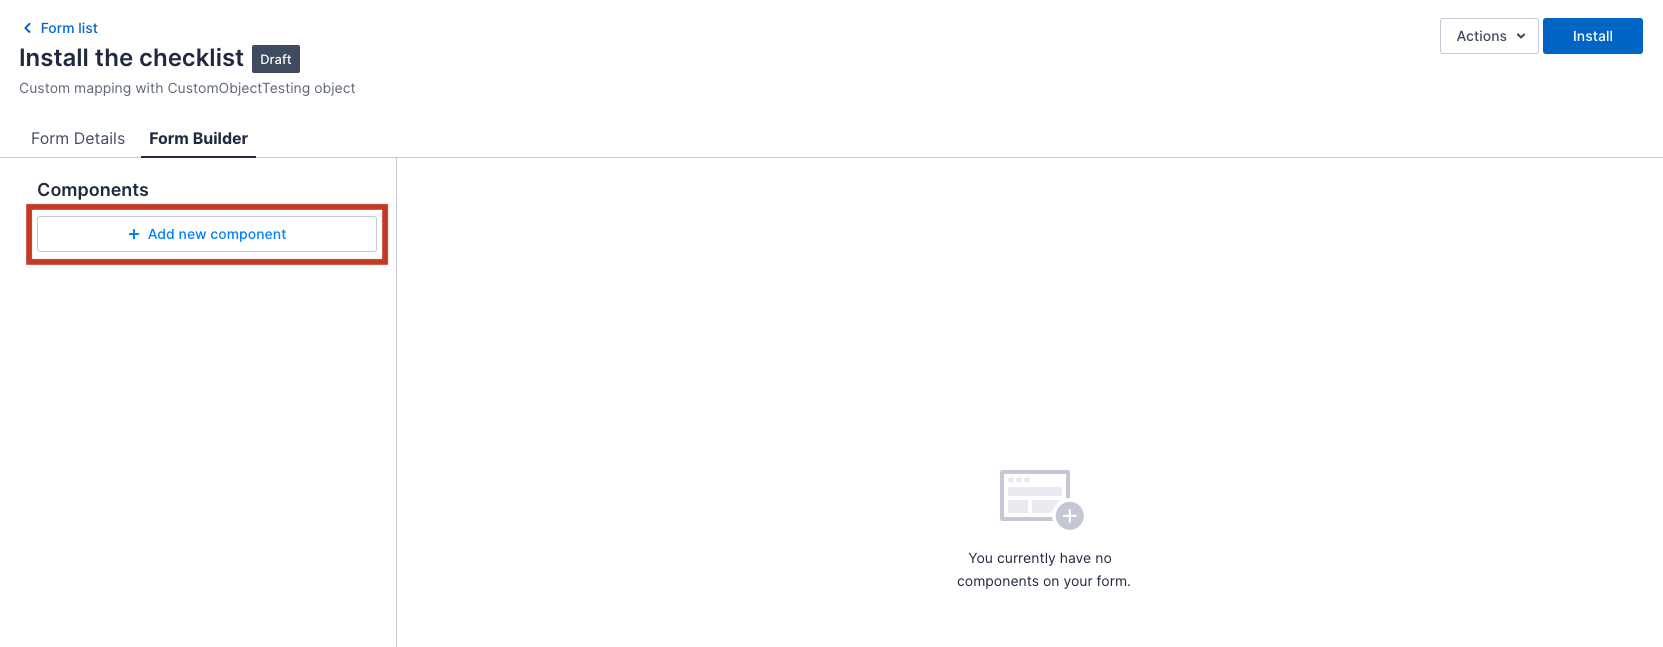
Add components to forms
Before adding components to your form, ensure you have a record of custom fields in the Jobs object that you would like the form to map to, including the field names and types.
To add UI components to the form, do the following steps:
-
On the Form Details page, switch to the Form Builder tab.
-
Click Add new component and then select the component type that you want to create.
To learn about available components, see Components available in the Skedulo Plus Form Builder.
-
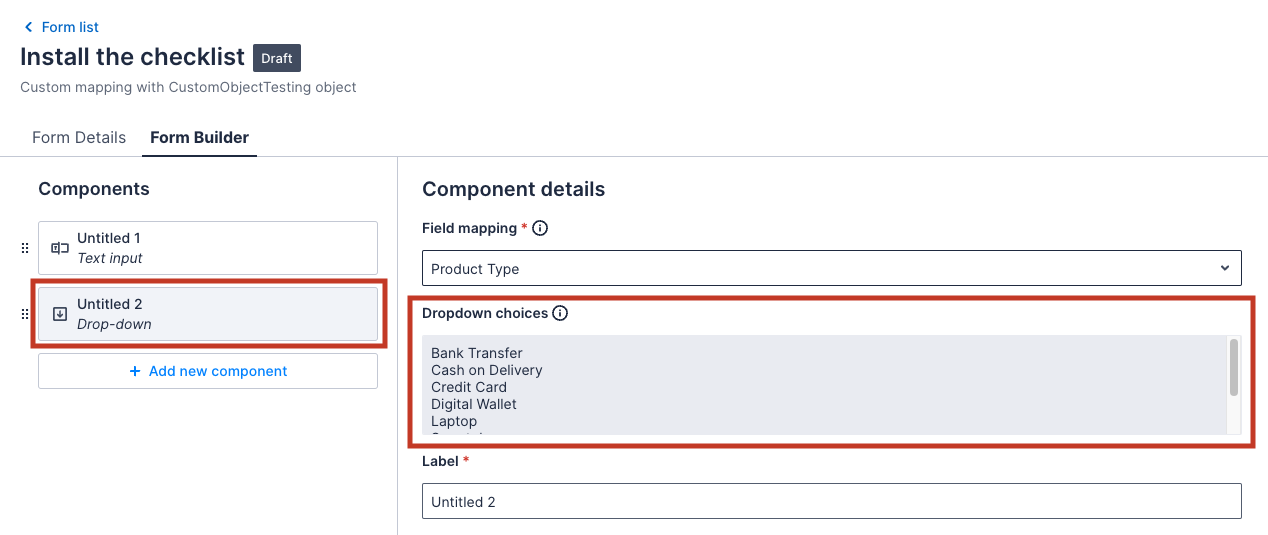
After adding a component, the Component details configuration panel displays.
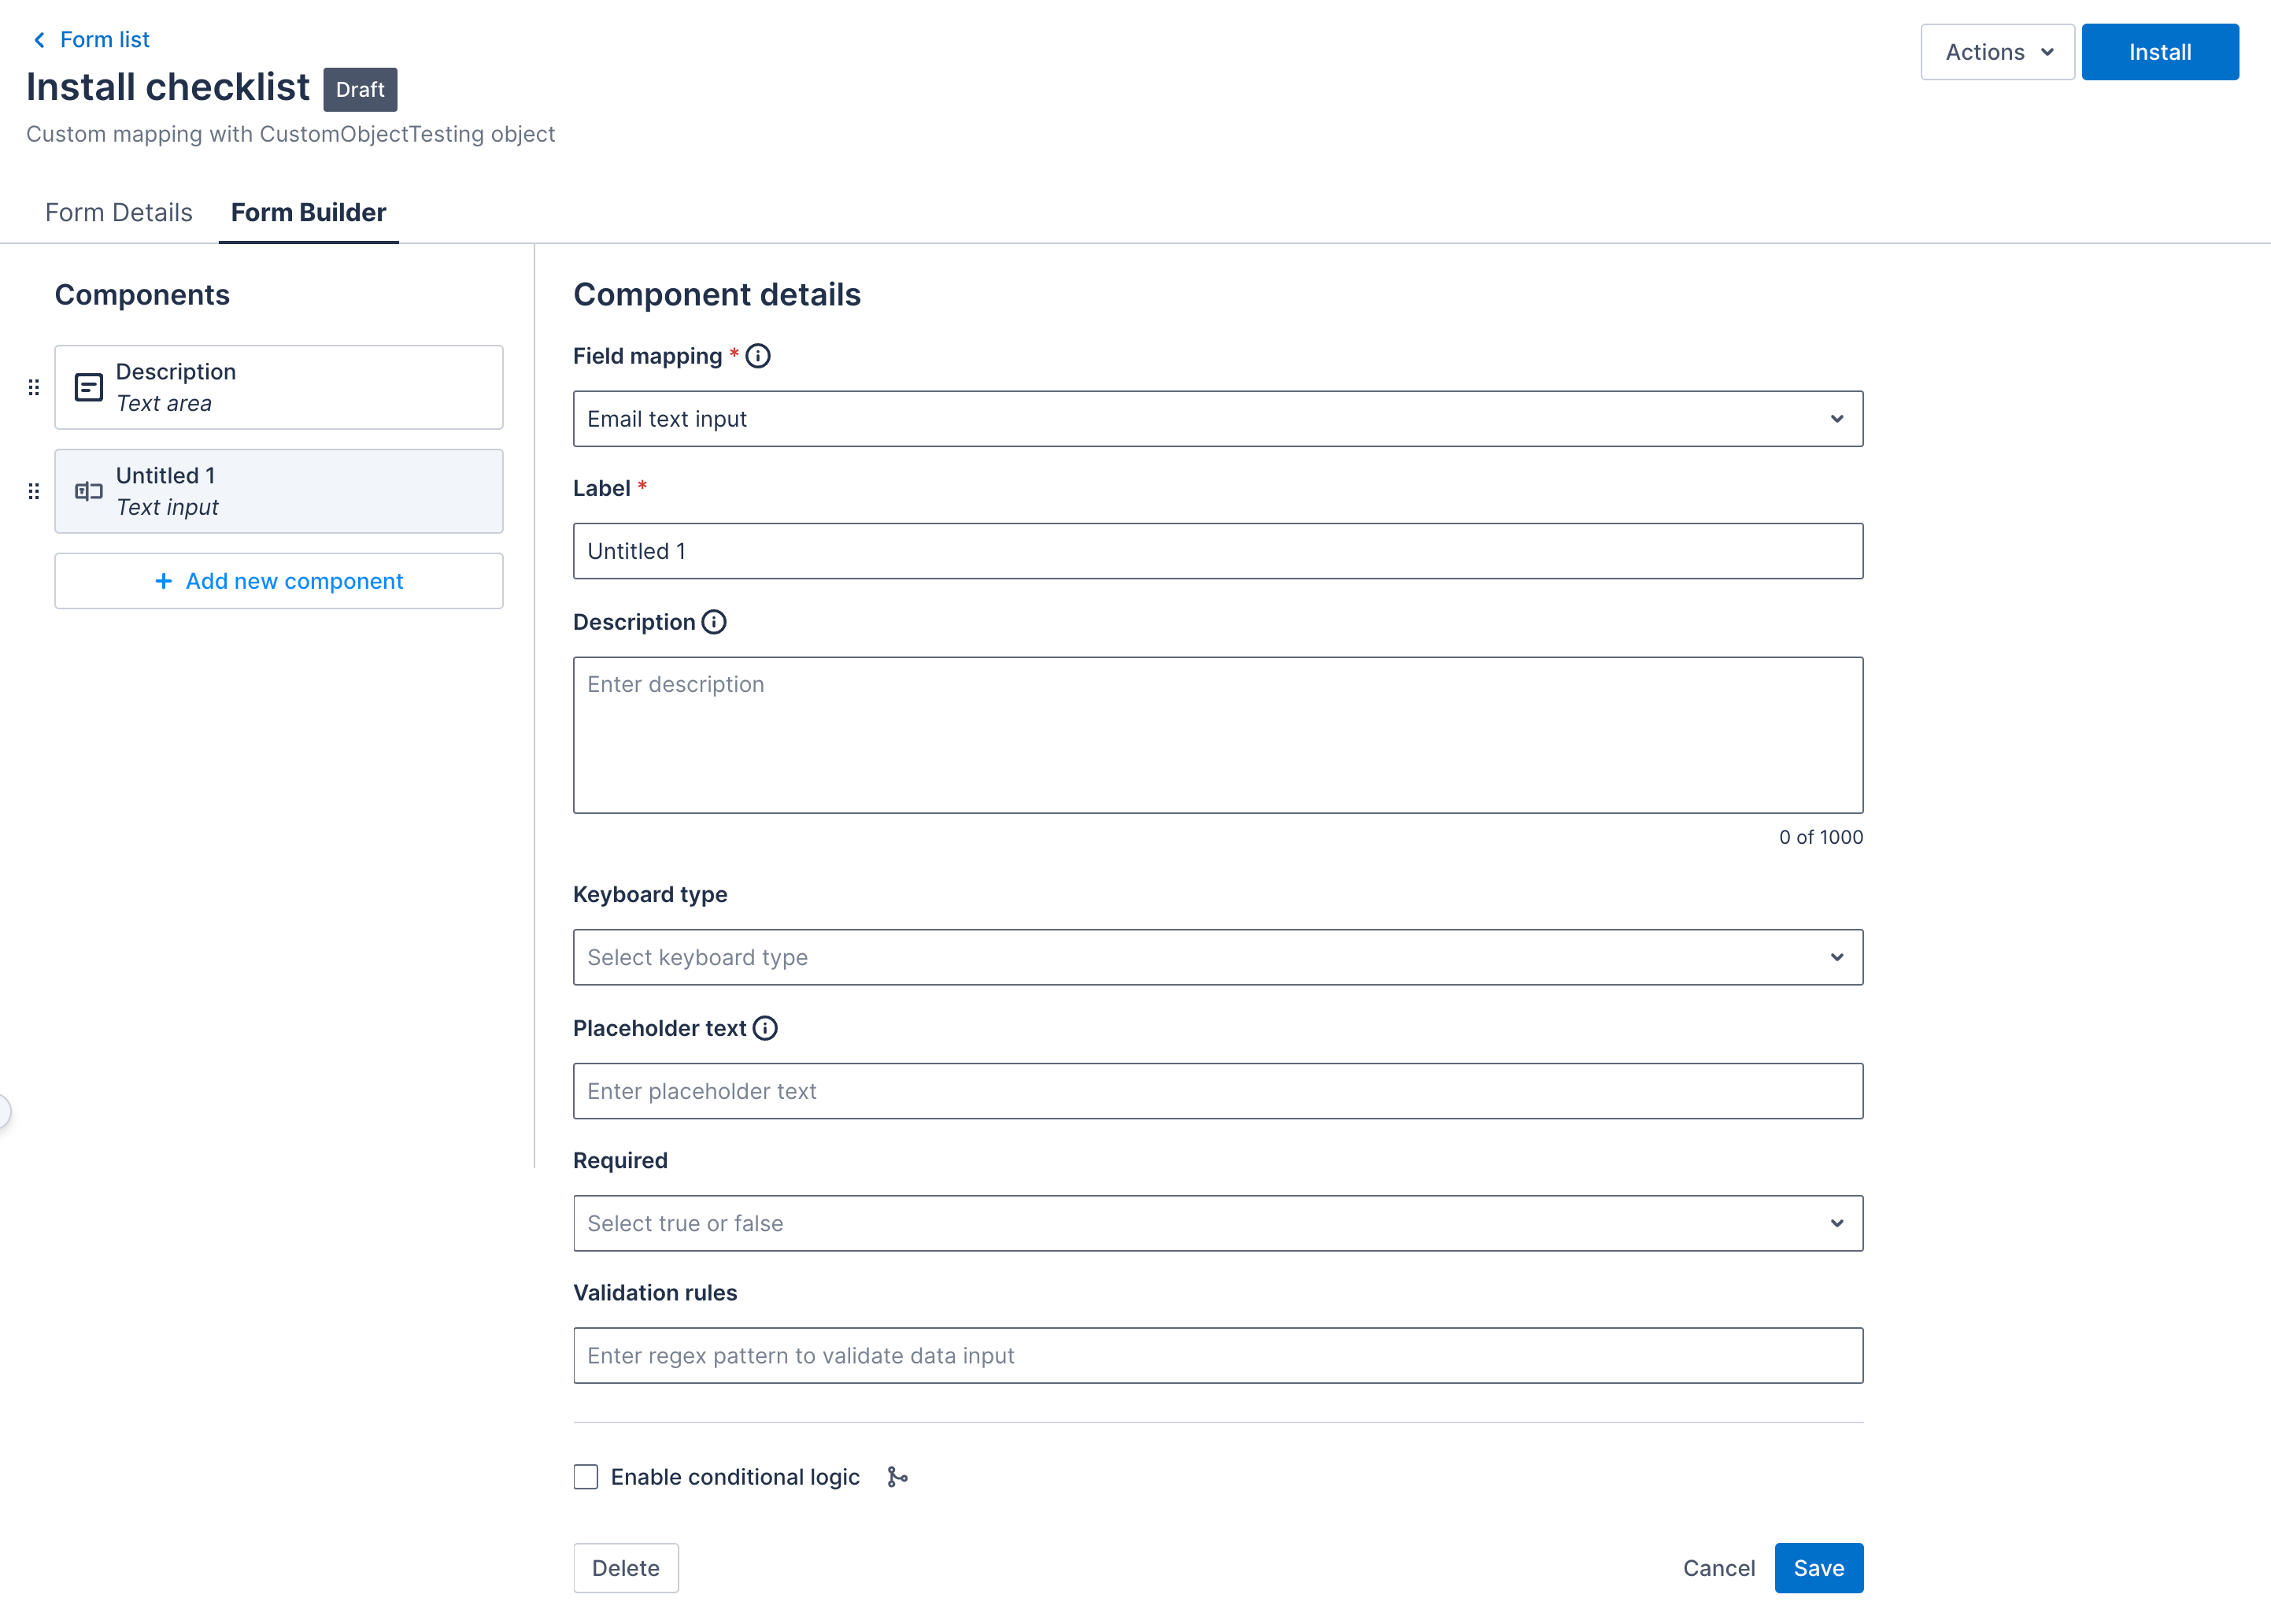
a. From the Field mapping drop-down, select the field to map. You can only select fields that have the field type compatible with the component you are working on. For the Update job records form, only custom fields of the
Jobsobject can be selected here.b. Enter a Label and configure the other fields, as required, according to the component type. For an example of how to configure a component, see Build a Skedulo Plus form with Form Builder components.
c. Click Save.
When adding a drop-down or multi-dropdown component, the options will be populated automatically from the picklist values of the field you select.
Important
If the mapping field is required, then it must be mapped here and marked in the component configuration as required.Install forms
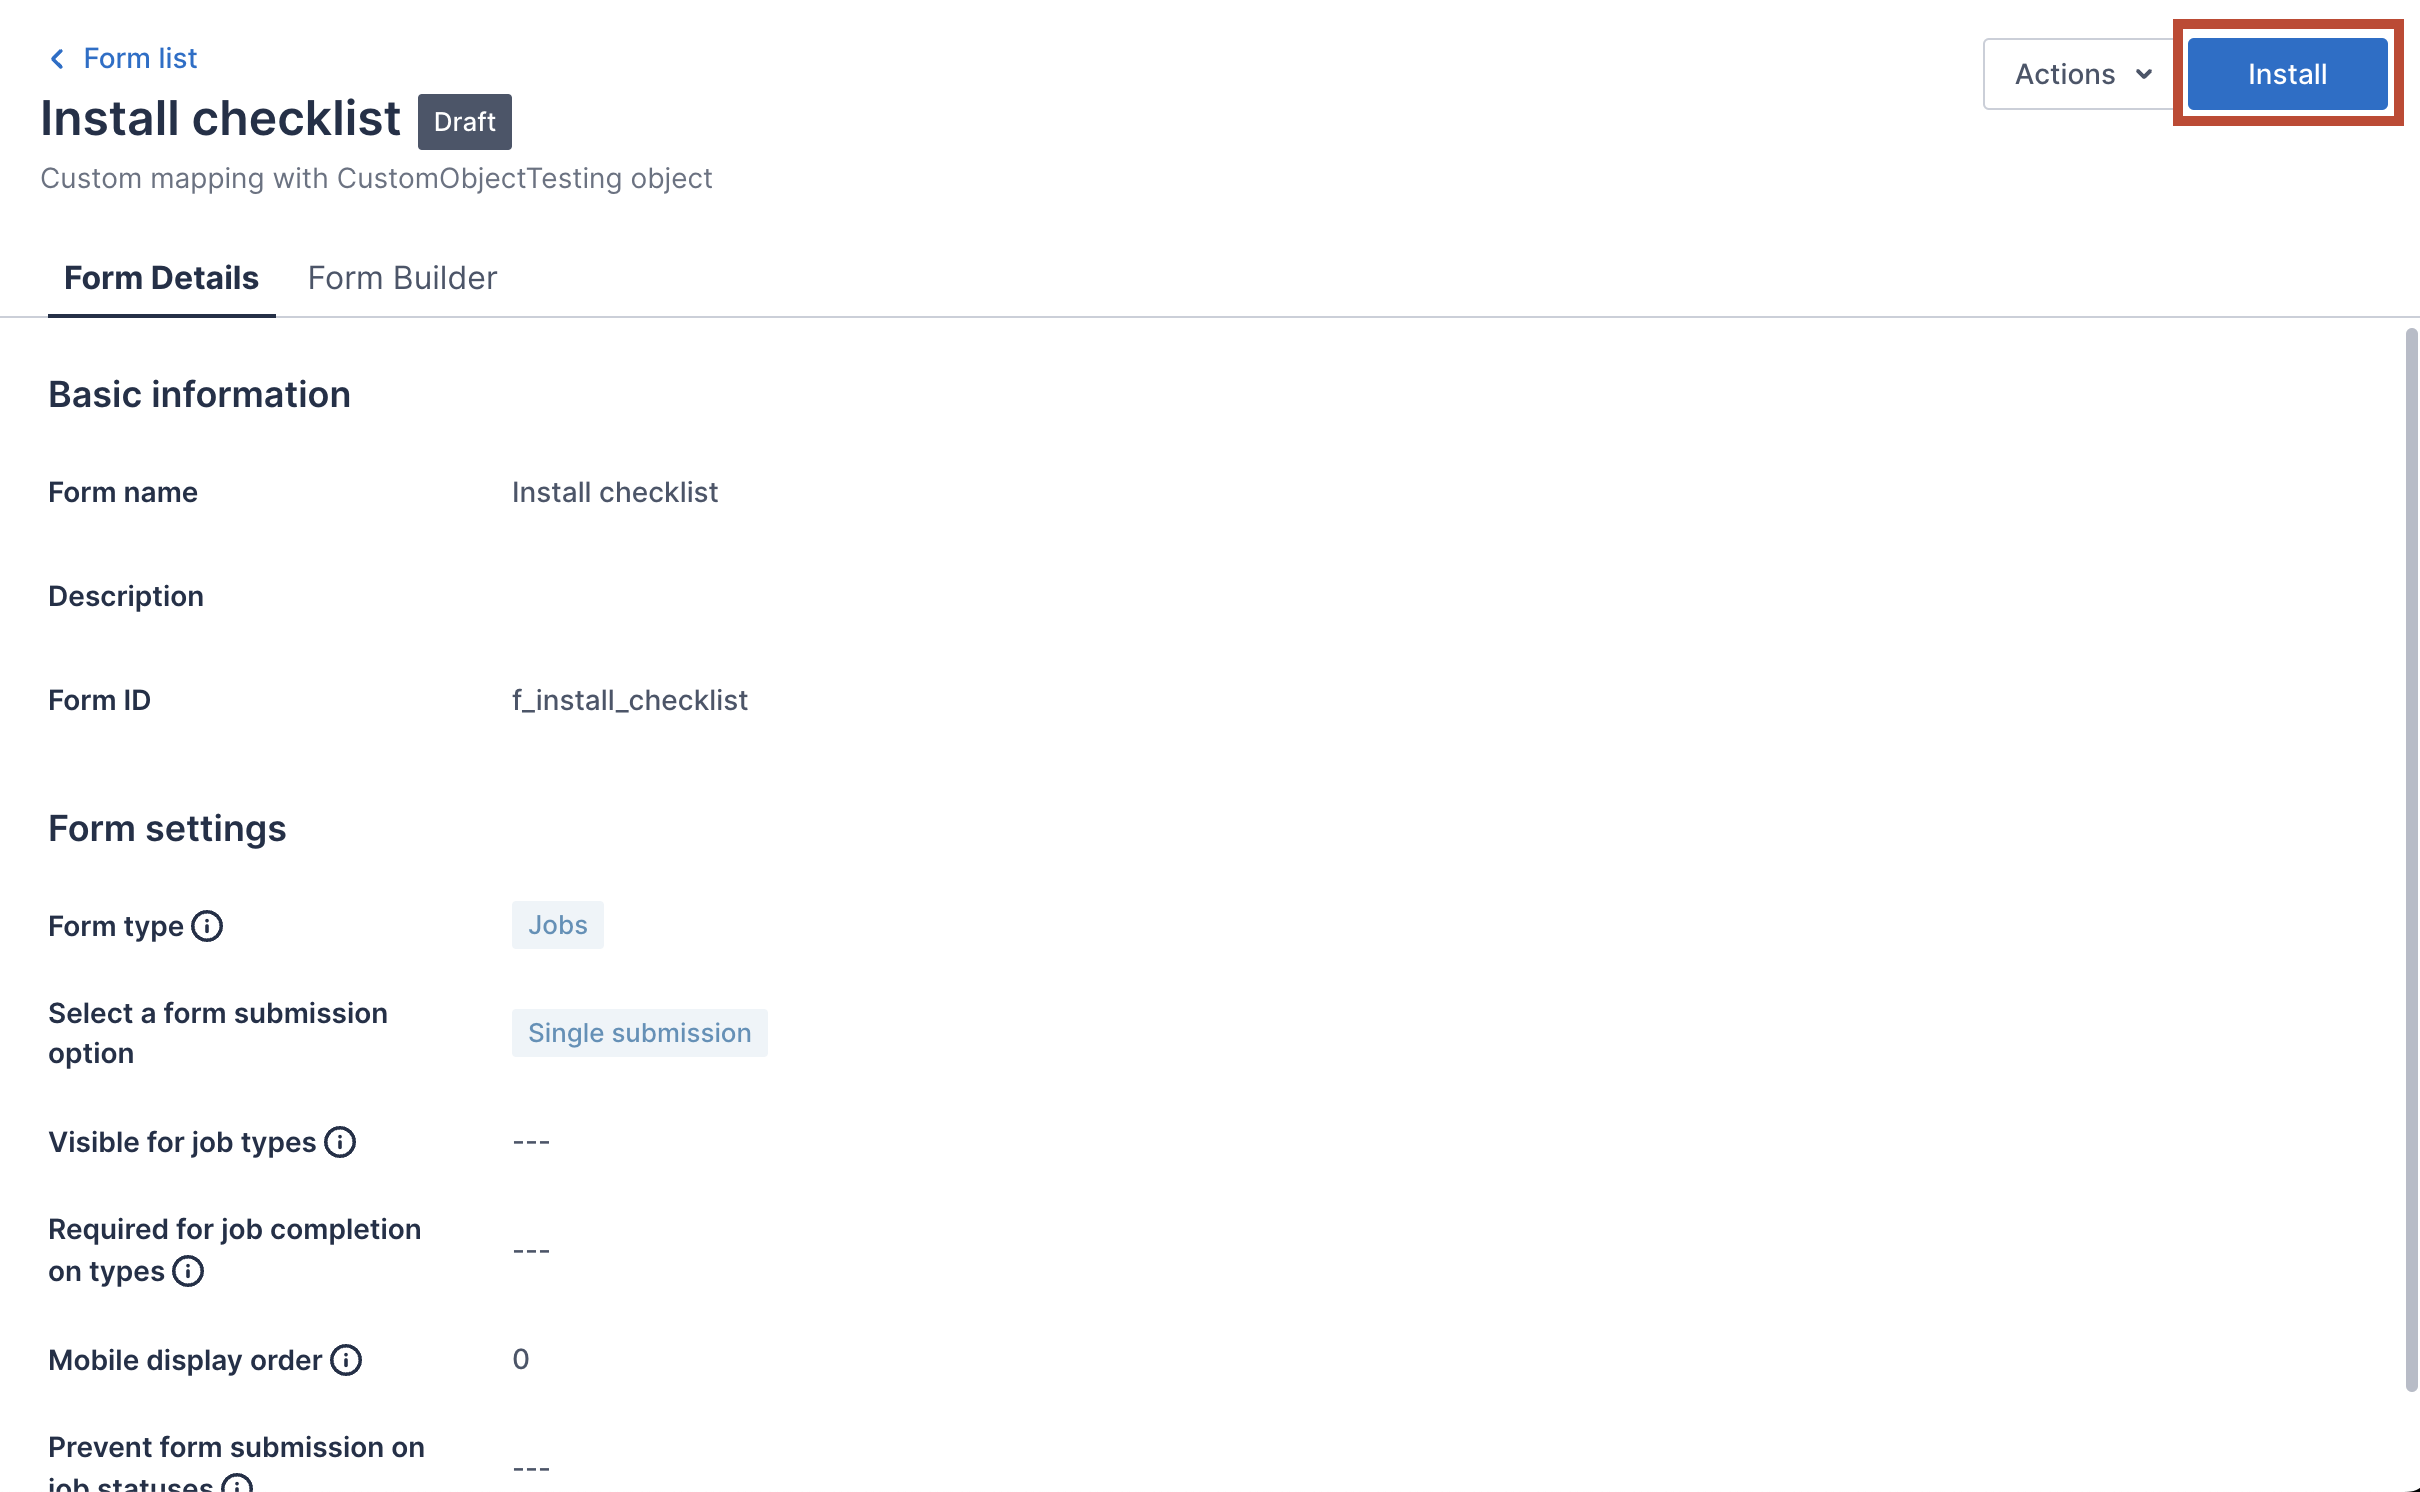
Once you’ve added all the needed components, you need to install the form to make it available in the Skedulo Plus app.
- Click Install at the top-right corner of the form details page.
The form status then changes from Draft to Installed. Your resources can now see and submit the form.
Important
Once the form is installed, you cannot make any changes to it. To edit the form, you need to uninstall it.View data collected from the form
After resources submit their responses to the form, you can view the collected data stored in the Jobs object.
Related links
Feedback
Was this page helpful?