Work custom fields
Overview
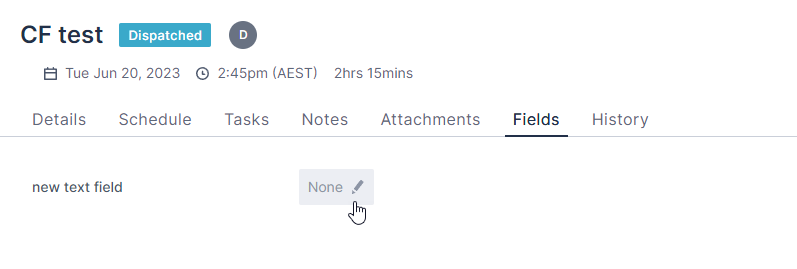
Custom fields can be added to allow additional information to be stored against a work item. These are in the form of additional fields in the Fields tab of the work details page, and they can be configured to be shown and editable in the web app and/or mobile app.
Configure custom fields for the Jobs object
To add a custom text field to the standard Jobs object:
- Navigate to Settings > Data management > Objects & fields.
- Click the Jobs object to open its Edit page.
- Click Add custom field.
- In the Create Custom Field modal:
- Select Text as the Field type and click Next.
- Enter the required information for the field, including the Field label and Field name.
- Choose the Display settings. For example, choose Show on Desktop to ensure the custom field is visible in the Skedulo web app.
- Click Create. The new field is added to the Custom fields list on the Jobs object Edit page and is now visible under the Fields tab of the work details page.
For more information about creating and managing custom fields, see Create and manage data objects
Note
Only administrators can create new fields.Custom field input types
Custom fields can include a range of input types including:
- Text fields
- Labels
- Lookups
- Picklists
- Multi-Picklists
- Rich text
- URLs
- Numbers
- Date and/or Time
- Checkboxes
Note
Custom fields do not have any validation in the Skedulo web app. Any restrictions on these fields in Salesforce will result in an error if the field is updated to an invalid value.
Special cases: Salesforce “Rich Text” fields are read-only in the Skedulo web app.
Feedback
Was this page helpful?