Complete onboarding wizard
Overview
The onboarding wizard guides you through the configuration process to get your organization up and running with Skedulo. If your organization is new to Skedulo, it will most likely have been run by your implementation consultant during the initial setup. It can, however, be re-run subsequent to initial setup if it is preferred over adding config via the Settings page.
Important
Please note that only those users with the admin privilege can run the onboarding wizard.Access the Onboarding Wizard
Access the onboarding wizard at any time via the following URL:
https://<team>.my.skedulo.com/onboarding (substitute “team” with your organization’s allocated team name).
Step-by-Step Guide to Onboarding Wizard
As you successfully access the onboarding wizard, it installs all the packages and components to enable you to use Skedulo.

Note
The installation process of the onboarding wizard may take several minutes. Please do not close the window.After the successful completion of the installation process, you need to set up some necessary configuration to access Skedulo’s features. Those configuration steps are described below:
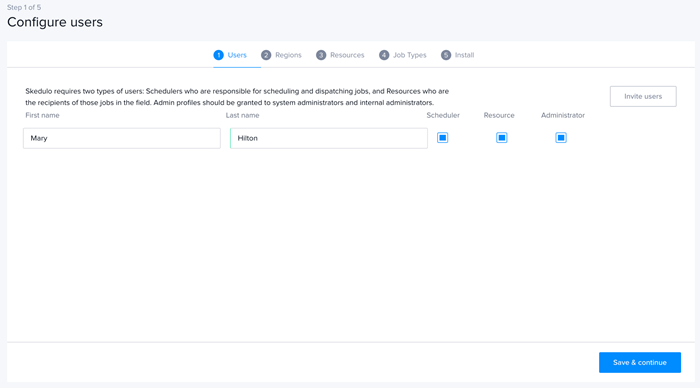
Step 1: Configure users
The first step of the onboarding wizard is to Configure Users. There are three types of Skedulo users.
- Schedulers: they are responsible for scheduling and dispatching jobs.
- Resources: they are the recipients of those jobs in the field.
- Administrators: they configure and manage the Skedulo application. Admin privilege should be granted to system administrators and internal administrators. At least one user is required to be an administrator.
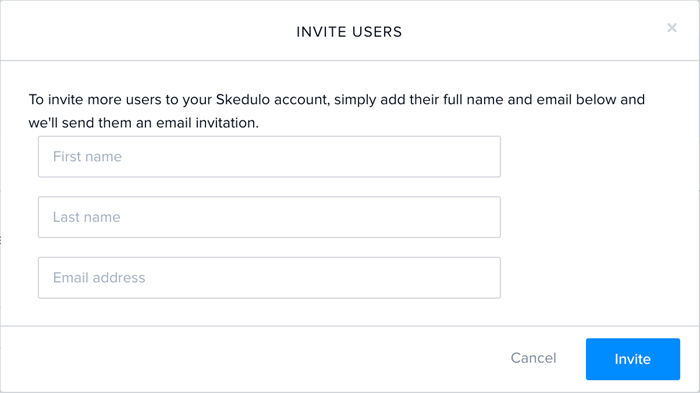
You can add the users by inviting them via email and then later determine their type. To invite the users, follow the steps below:
-
Click Invite users.
-
Enter the First name, Last name, and Email address of the intended users.
-
Click Invite. Invite as many users as necessary. The invited users will be listed on the Configure users page.
-
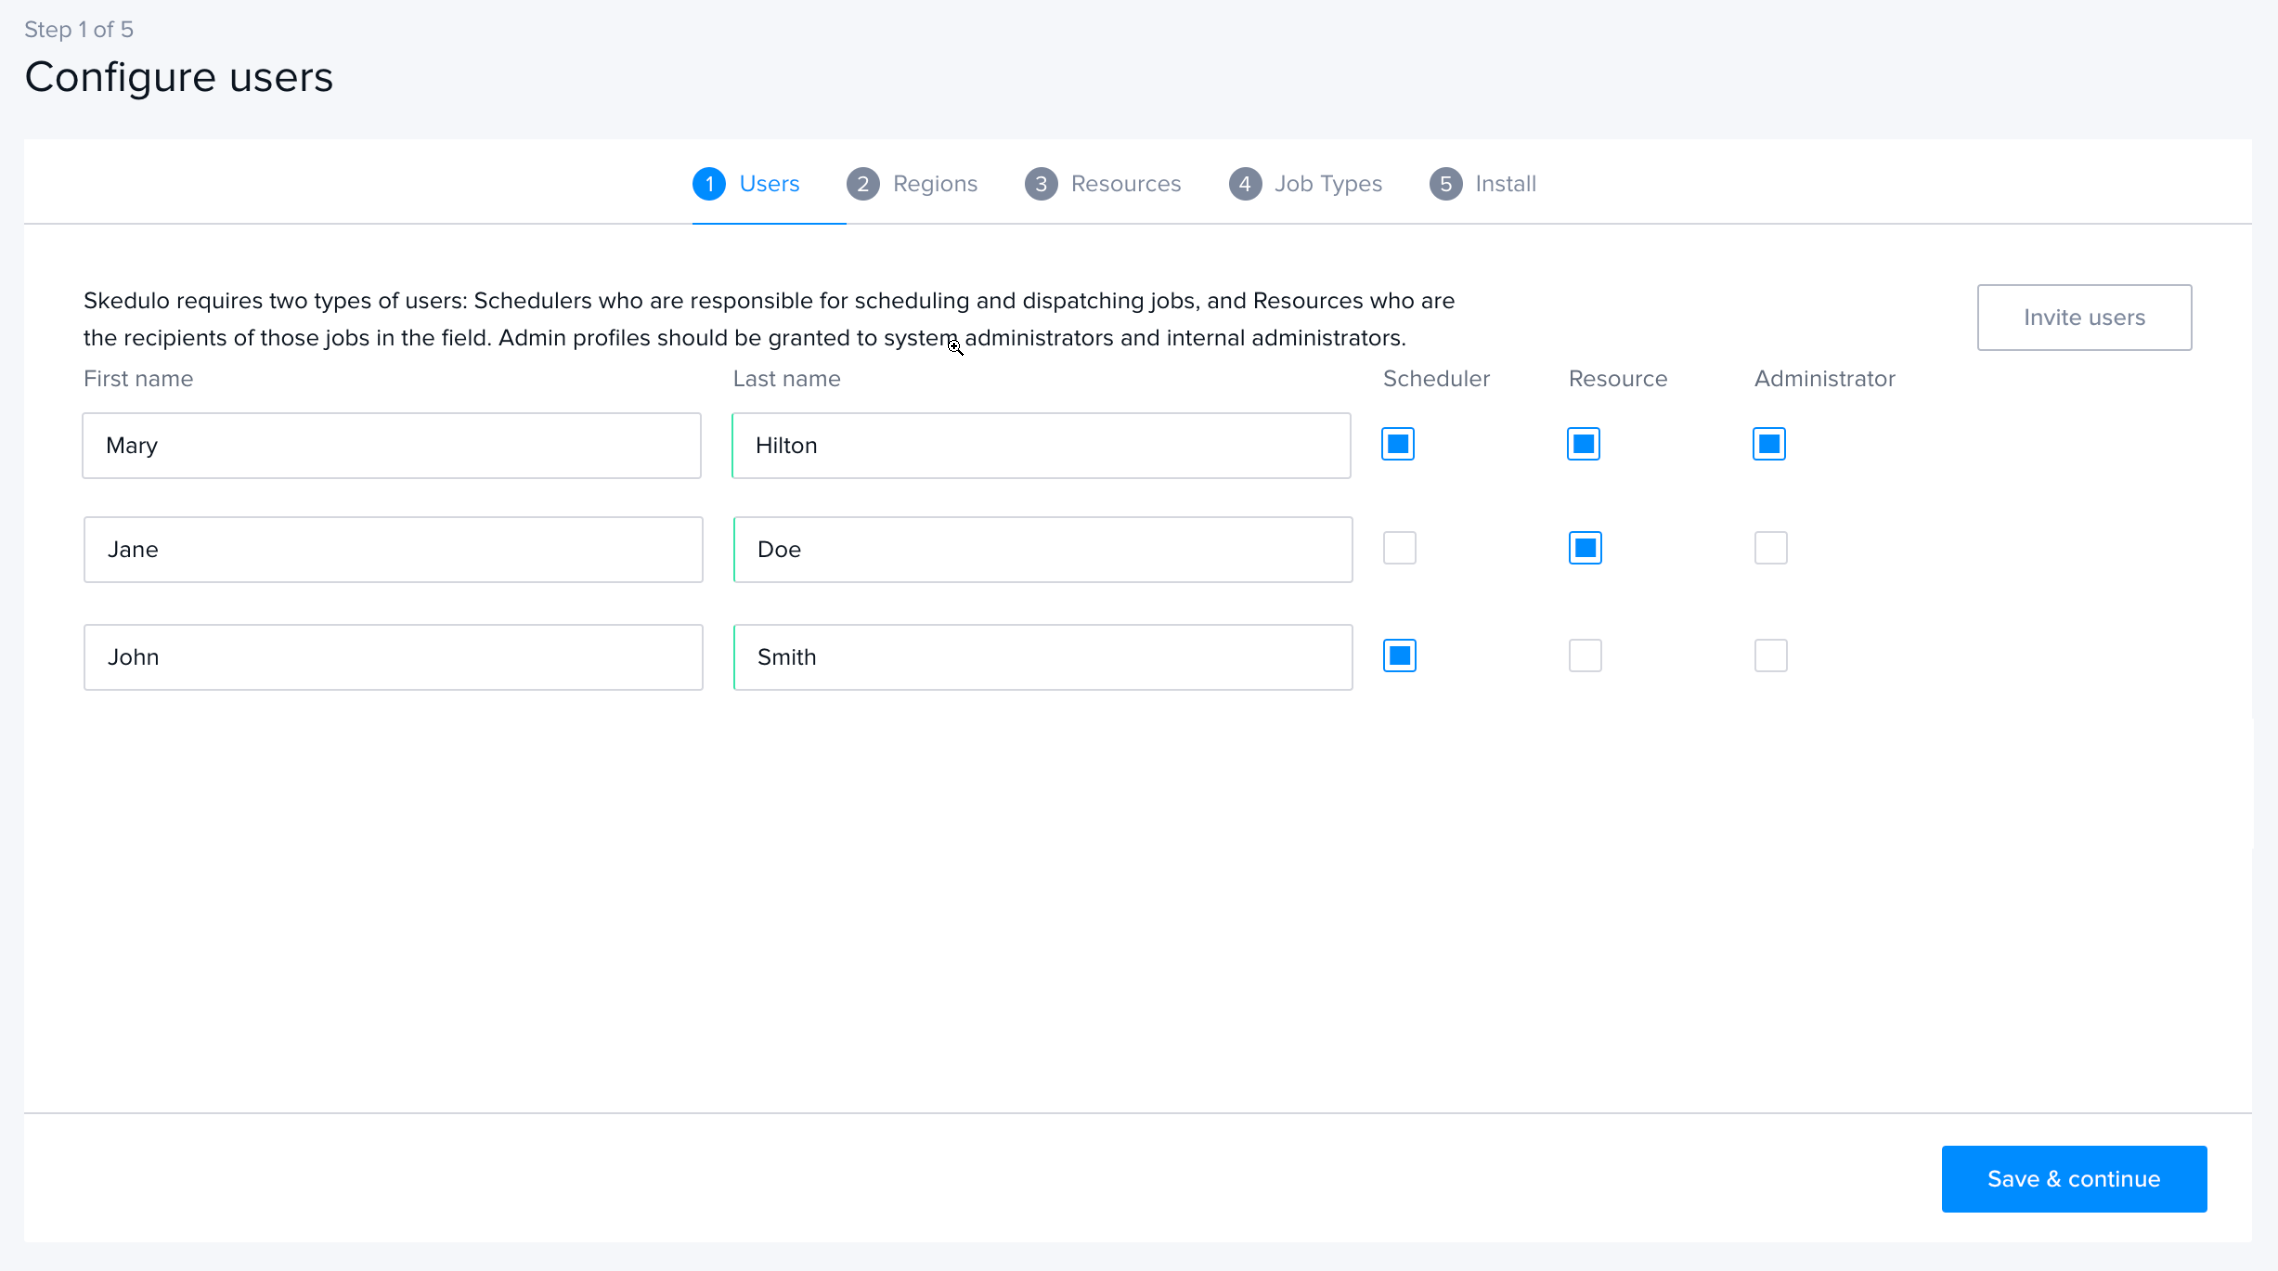
Set the intended role for the users by selecting different roles of either Scheduler, Resource, and/or Administrator.
Note
If an Administrator needs to access the web app console, they need to be configured as a Scheduler as well. Only users selected as type “Resource” will be visible in the scheduling web app. -
Click Save and Continue.
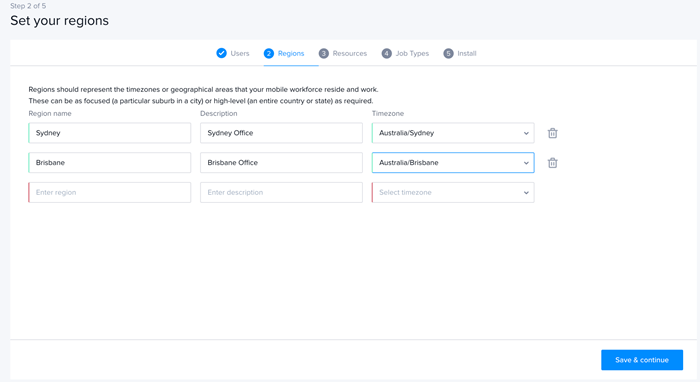
Step 2: Regions
A region is a geographical area that is used to control and manage resources and assets. Each region is identified by one time zone.
To add regions to your organization, enter the Region name, Description, and choose a Timezone for each of the regions. Set as many regions as necessary and click Save and continue.
Step 3: Resources
The Resources are the human capital in your organization. You can set up user profiles for your resources by carrying out the following steps:
- Select the name of the Users from the dropdown menu.
- Provide a Resource name for that user. It can be a short or pet name that identifies the user.
- Select the Region for the user.
- Enter the Home address of the user.
- Select the acronym of the Country for the user.
- Enter the Mobile number of the user.
- Select the preferred option of Notify by of the user.
- Click Save and continue.

Step 4: Job types
The Job types are the different categories of the tasks performed by the resources. By default, there are four job types are available which are:
- Installation.
- Upgrade.
- Break-Fix.
- Maintenance.
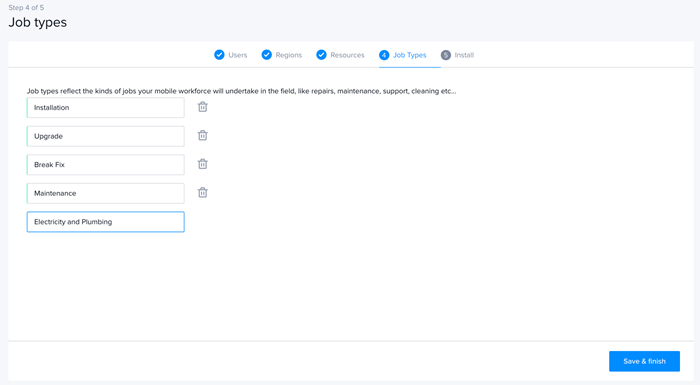
These job types can be renamed as per requirement. You can also add more job types from the Data table for job types.
Note
If custom forms are in use, renaming job types will impact custom forms in the Skedulo mobile app.Step 5: Install
This is the final step of the onboarding wizard. The installation process of the onboarding wizard completes with all the installation steps checked green.
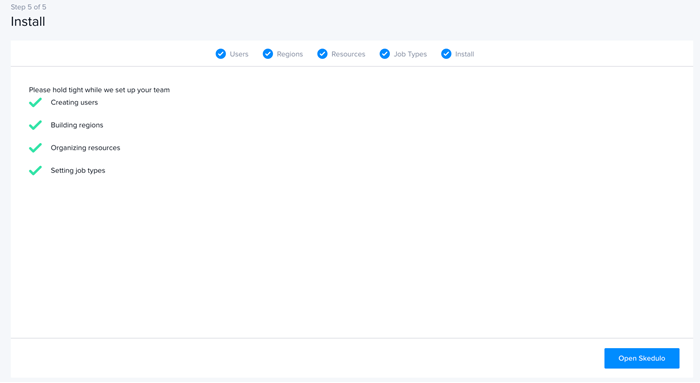
Click Open Skedulo and to be redirected to the Skedulo web app.
Feedback
Was this page helpful?