Quick-start 1 - The onboarding wizard
Overview
The Quick-start series of articles enables you to go from setting up resources to dispatching your first job in a few short steps.
- Quick-start 1: The onboarding wizard (this article).
- Quick-start 2: Set up resources.
- Quick-start 3: Create jobs.
- Quick-start 4: Dispatch jobs.
If your organization is new to Skedulo, you will need to run the onboarding wizard first.
Before you get started:
It is possible that your Skedulo Client Services contact may have already run the onboarding wizard for you. If so, you are good to go. Feel free to read through the process, or go straight to Step 5 of this article.
New Salesforce organizations
If you have a new Salesforce organization and your Skedulo managed package has not been installed, you must complete the Preparation for running the Onboarding Wizard for a new Salesforce organization process first.Important
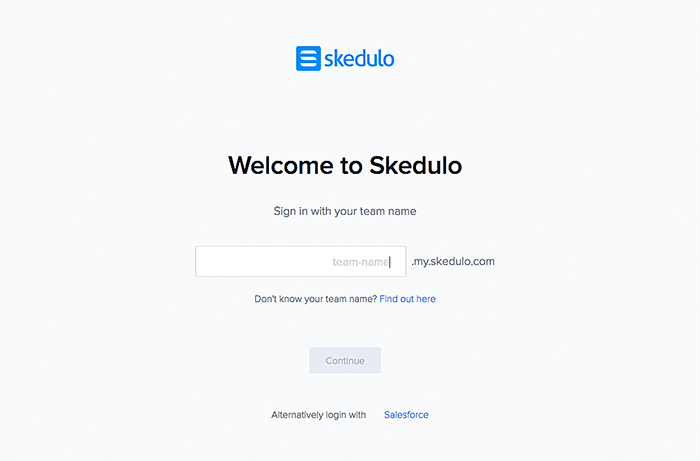
Only users with the administrative permission Modify All Data on their Salesforce user profile can run the onboarding wizard. The onboarding wizard can be rerun as many times as you require.Log in to Skedulo
Using a web browser, access the onboarding wizard via the following URL (substitute “team” with your organization’s allocated team name):
https://<team>.my.skedulo.com/onboarding
Note
The user running this wizard must be an administrator, and chatter needs to be enabled in the target Salesforce org.If you have not already done so, you will be asked to log in to your CRM. After logging in, you will be redirected back to the onboarding wizard (Step 1).
Log in to Salesforce and enter your sandbox or production administrator credentials.
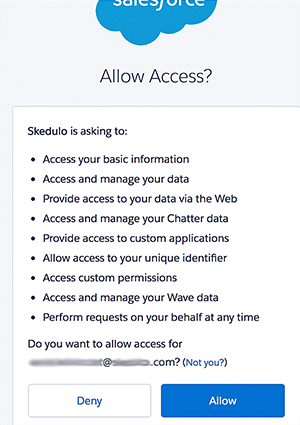
Authorize Skedulo
If this is the first time you have logged in, you will be presented with a screen asking you to grant the Skedulo package the appropriate Salesforce permissions. These include:
- Access your basic information.
- Access and manage your data.
- Provide access to your data via the web.
- Access and manage your Chatter data.
- Provide access to custom applications.
- Allow access to your unique identifier.
- Access custom permissions.
- Access and manage your Wave data.
- Perform requests on your behalf at any time.
Select Allow to log into the Skedulo web app.
Step-by-Step Guide to Onboarding
After logging in successfully, you will see the “Now let’s get you up and running” screen.
The onboarding wizard will install all the necessary packages and components to enable you to use Skedulo with your CRM. To access all of Skedulo’s scheduling features, you will need to configure all necessary access permissions and set up your organization.

Note
If this is the first time you have used the onboarding wizard, the process may take several minutes. Please do not close the web browser or the browser tab.Step 1: Users
Important
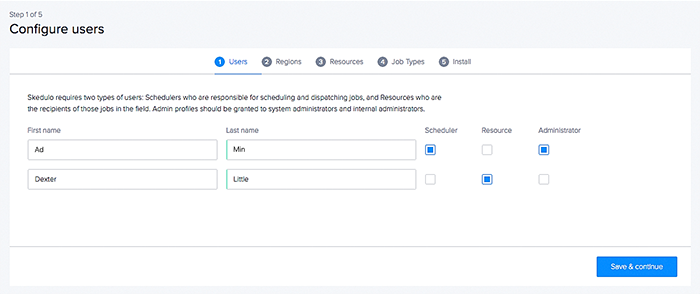
The following examples use fictitious names and data.Give Skedulo app-level access to some test users in your Salesforce org.
Skedulo requires three types of users:
- Schedulers: who are responsible for scheduling and dispatching jobs.
- Resources: who are the recipients of those jobs in the field.
- Administrators: who manage the Skedulo apps and can configure them using admin settings. Admin profiles should be granted to system administrators and internal administrators. At least one user is required to be an administrator.
If an administrator needs to access the web app consoles they will need to be configured as a scheduler as well (i.e., both an admin and a scheduler).
Note
\1. Salesforce administrators must have access to Skedulo.
\2. Only users selected as type “Resource” will be visible in the scheduling web app.
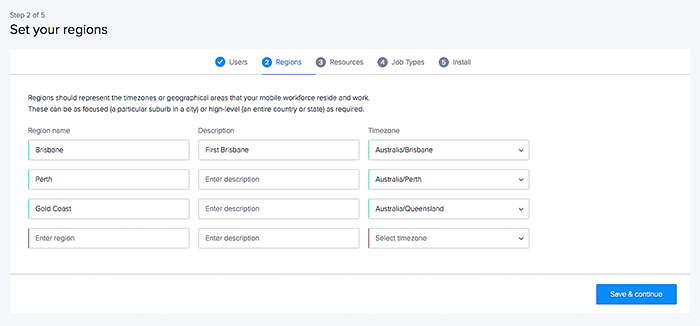
Step 2: Regions
Setup regions (go ahead and set up as many regions as you require). A region is a geographic categorization that is used to control resources and assets. Regions can only have one time zone.
Step 3: Resources
It is recommended you use this screen to add only a few test users (who are already Salesforce users) to get the Skedulo web app operational.

Step 4: Job Types
Set up your job types (you can always add more job types later from within the Salesforce job types pick-list in the job object). By default, four job types are included (which can be renamed later if required):
- Installation.
- Break-Fix.
- Upgrade.
- Maintenance.
Note
If custom forms are in use, renaming job types will impact custom forms in the Skedulo mobile app.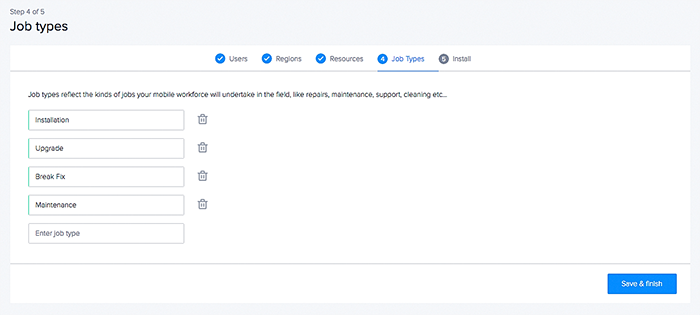
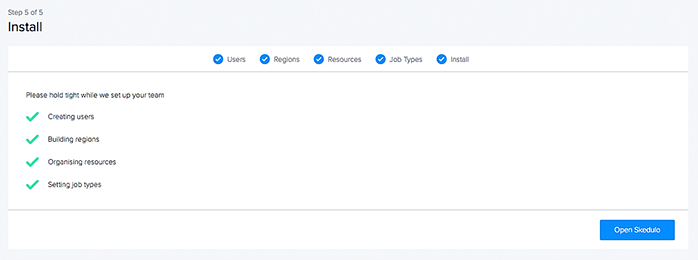
Step 5: Install
Installing… waiting… done!
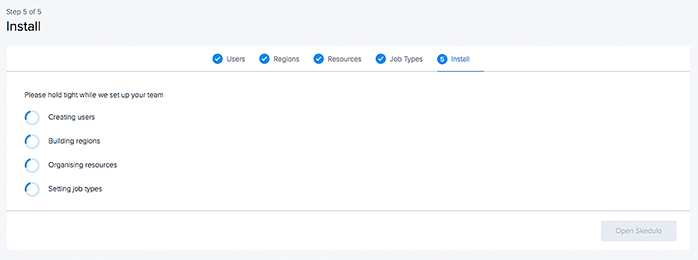
Once the onboarding process is complete, all the installation steps conducted will be marked with a green checkmark and a blue button will appear. Clicking on the blue “Open Skedulo” button will redirect you to the scheduling web app within Skedulo.
Feedback
Was this page helpful?