Add new resources in Skedulo for Salesforce
Overview
We define a resource as either a person or a physical asset that is in the field.
A person resource (e.g., staff, contractors, or 3rd parties) is associated with a Salesforce user record; however, an asset resource requires no user record as it is typically an object (e.g., devices and vehicles).
Step-by-step guide using Salesforce
Step 1
Check if the resource is a Salesforce user.
If this is a person resource, first, make sure this person is already set up as a Salesforce user. If this is an asset resource, go straight to step 2.
Related links
Create & edit Salesforce users.
Step 2
Create a new resource:
- Using Salesforce Classic: Go to the Resource (tab) and click New.
- Using Salesforce Lightning: Go to the App Launcher > Resources and click New.
Step 3
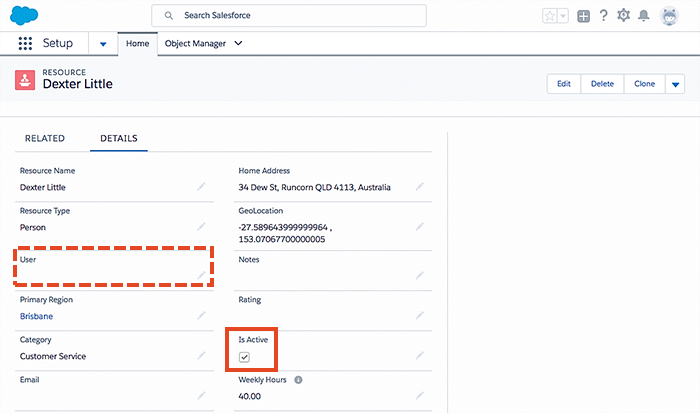
Fill out the fields for your resource:
- Resource Name.
- Resource Type.
- User (resource) (attach a resource to the Salesforce user) (Note: Only if this is a “person” resource!)
- Primary Region.
- Mobile Phone (if using SMS) or Email.
- Notification Type (either SMS or Email).
- Country Code (for SMS).
- Home Address (Note: addresses entered in the Salesforce UI will not automatically be geo-located. However, any addresses entered in the web app will automatically be geo-located).
- IsActive (to ensure they can be “scheduled” as a resource within the Skedulo web app).
Step 4
To add a photo for a resource.
Go to the resource’s Chatter profile in Salesforce and upload a chatter profile photo (this will then be displayed within Skedulo).
Related links
Note
Once a resource has been created, and the Is Active checkbox is ticked, their details can be maintained from within the Skedulo web app.
Refer to Resource Management.
Feedback
Was this page helpful?